
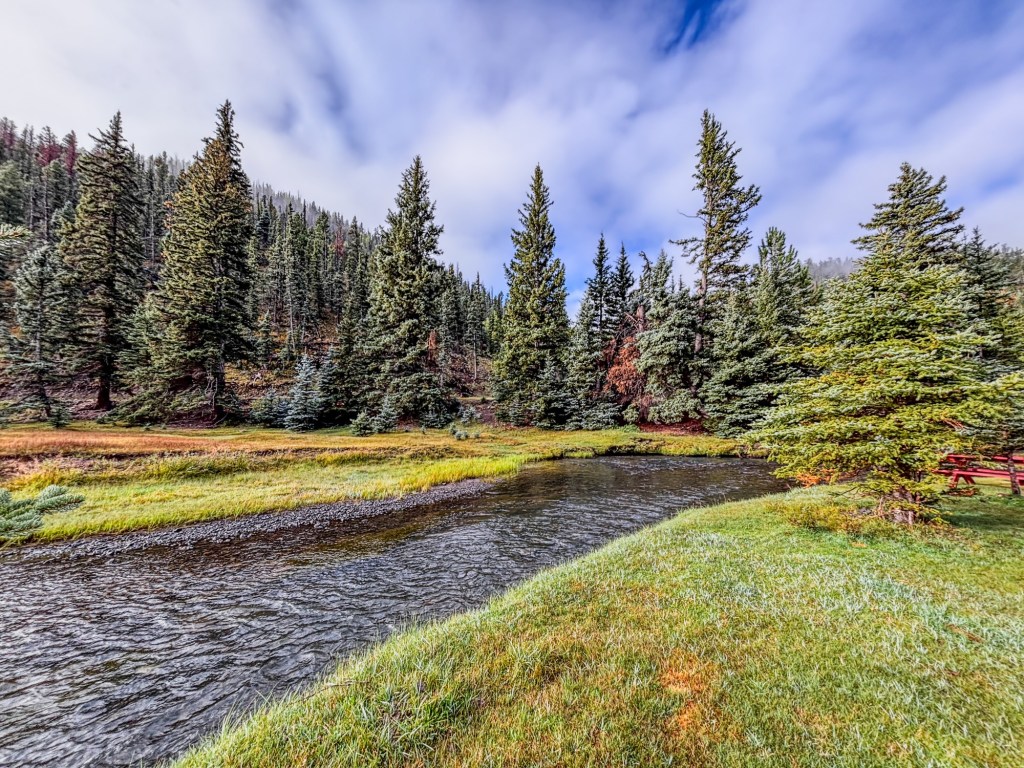
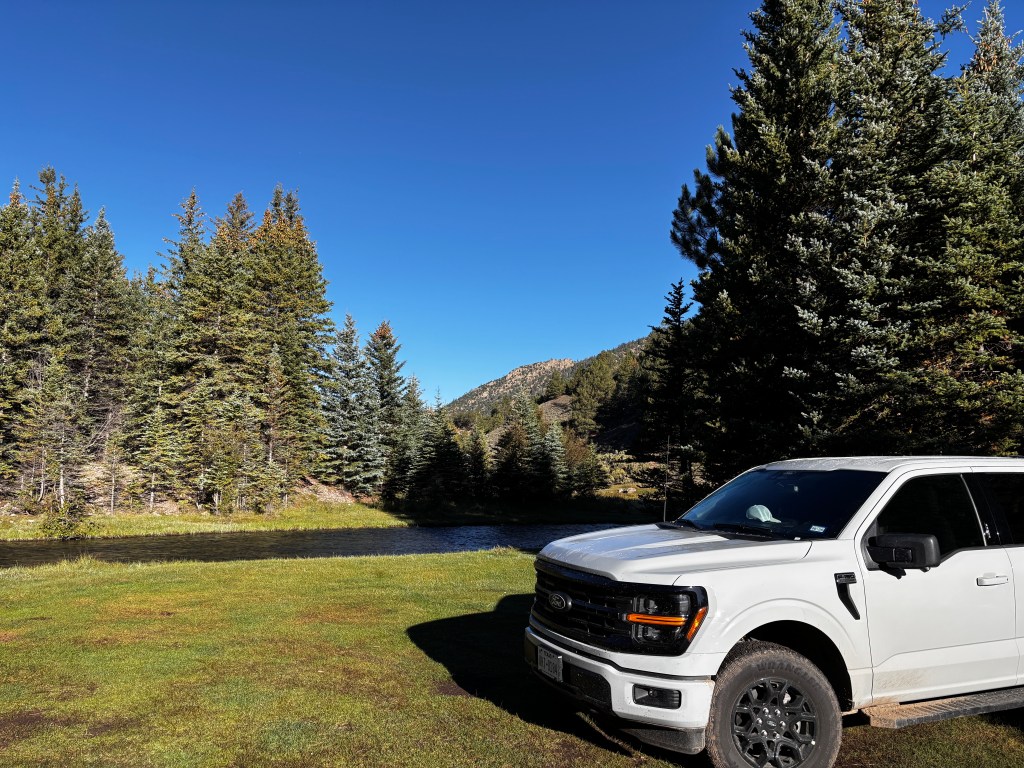
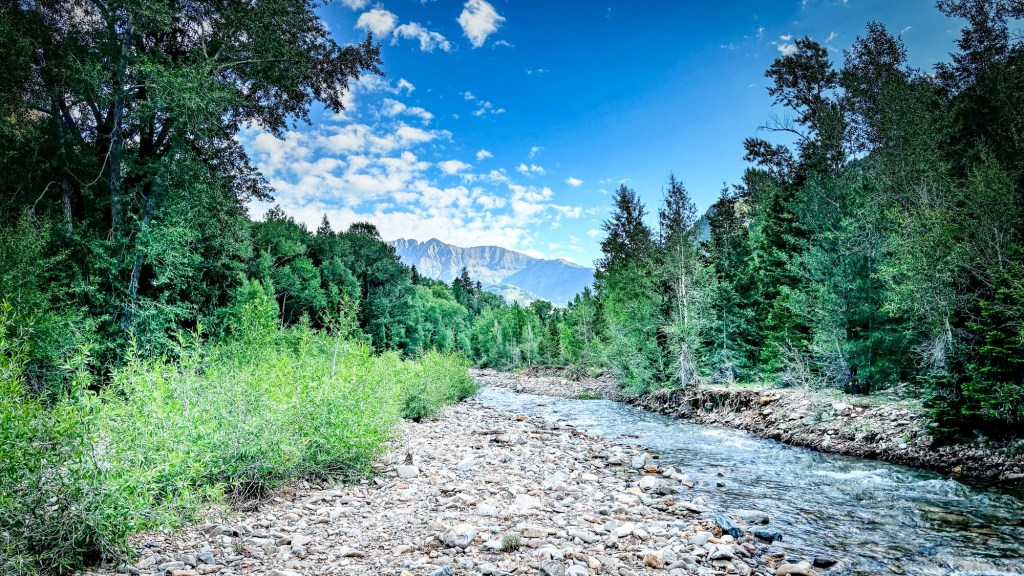
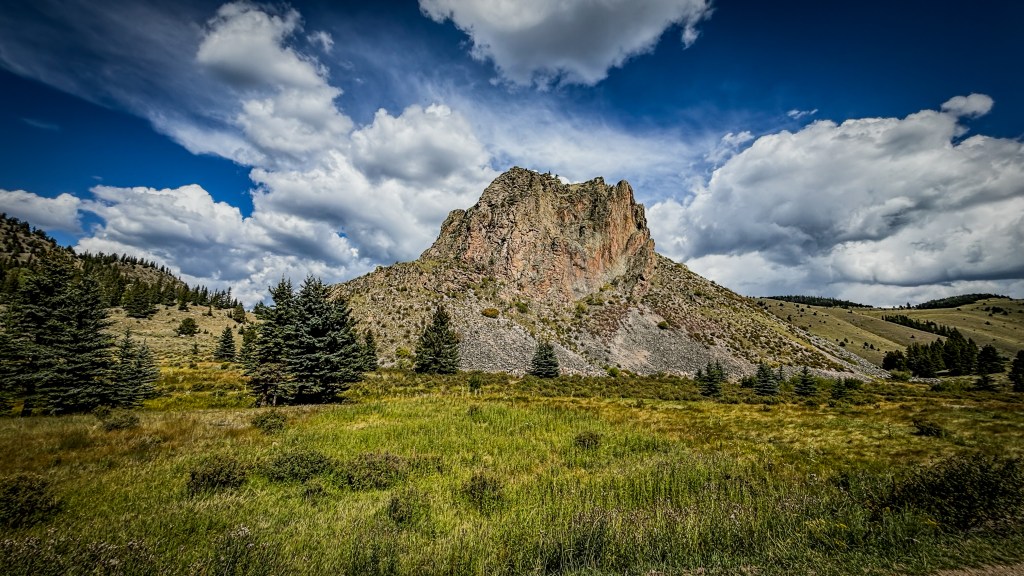
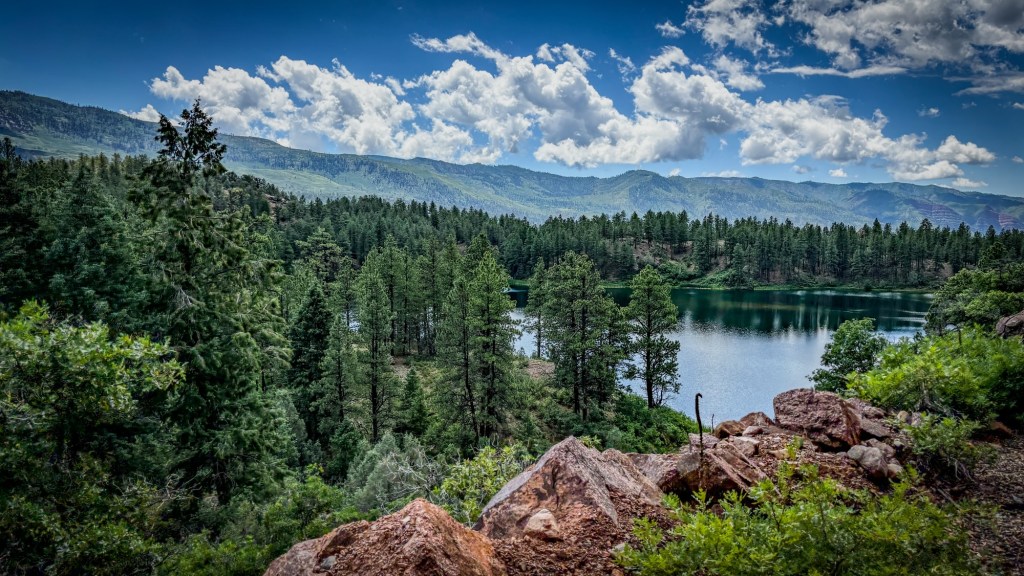
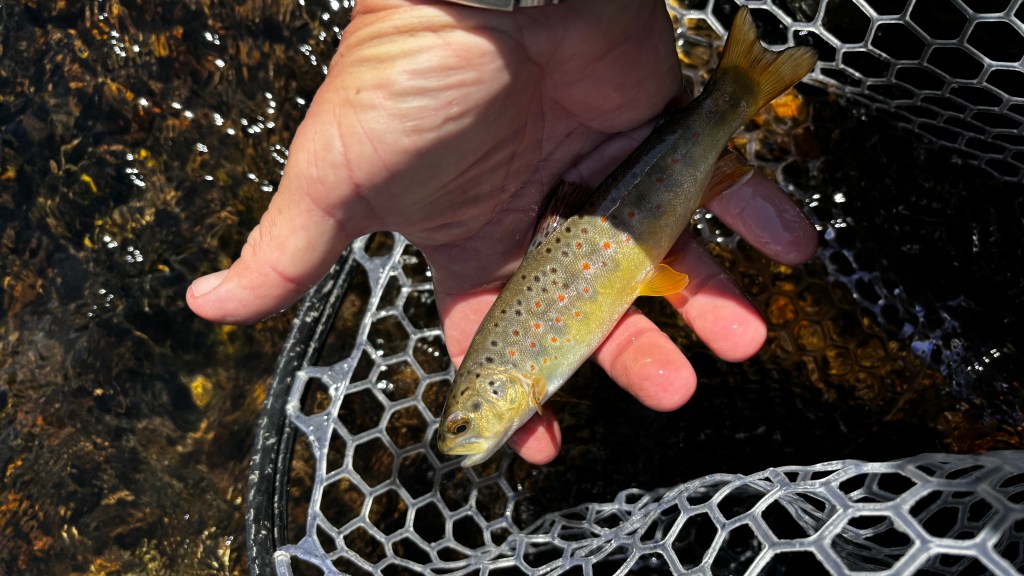
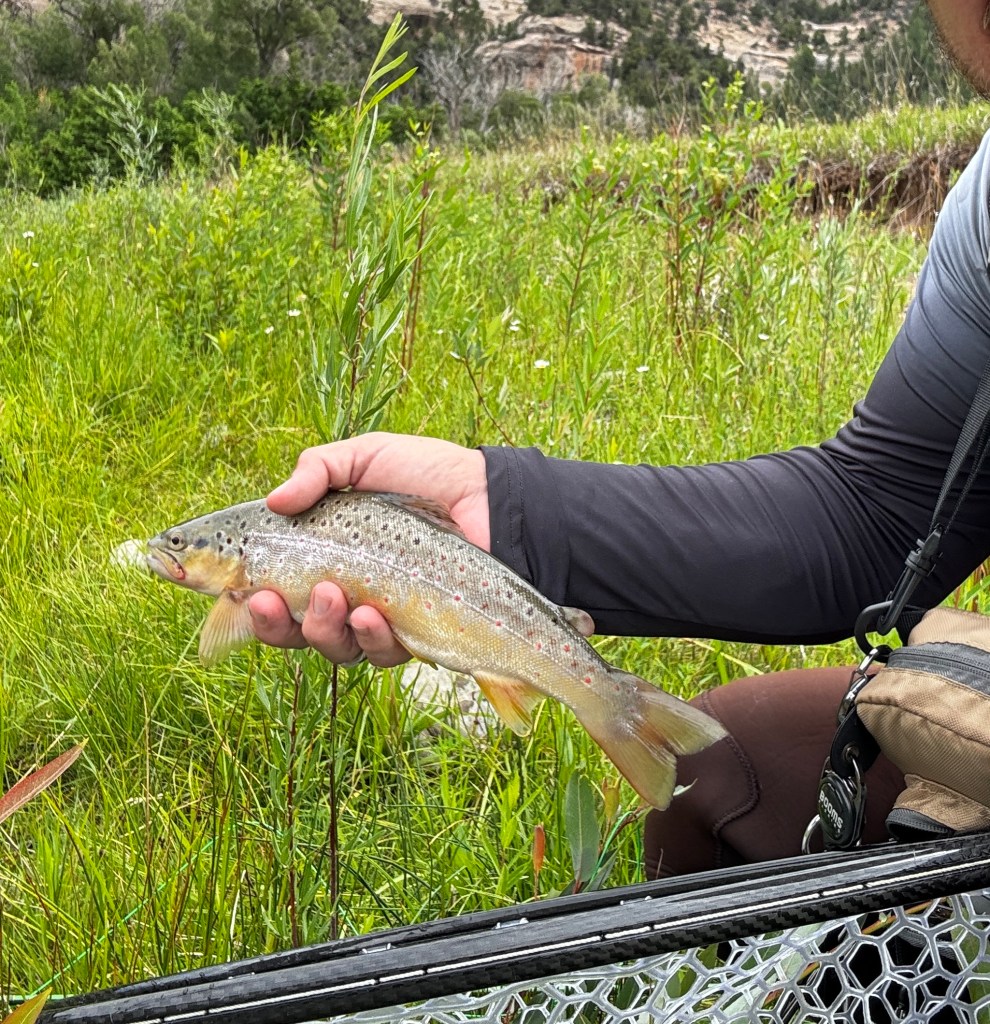
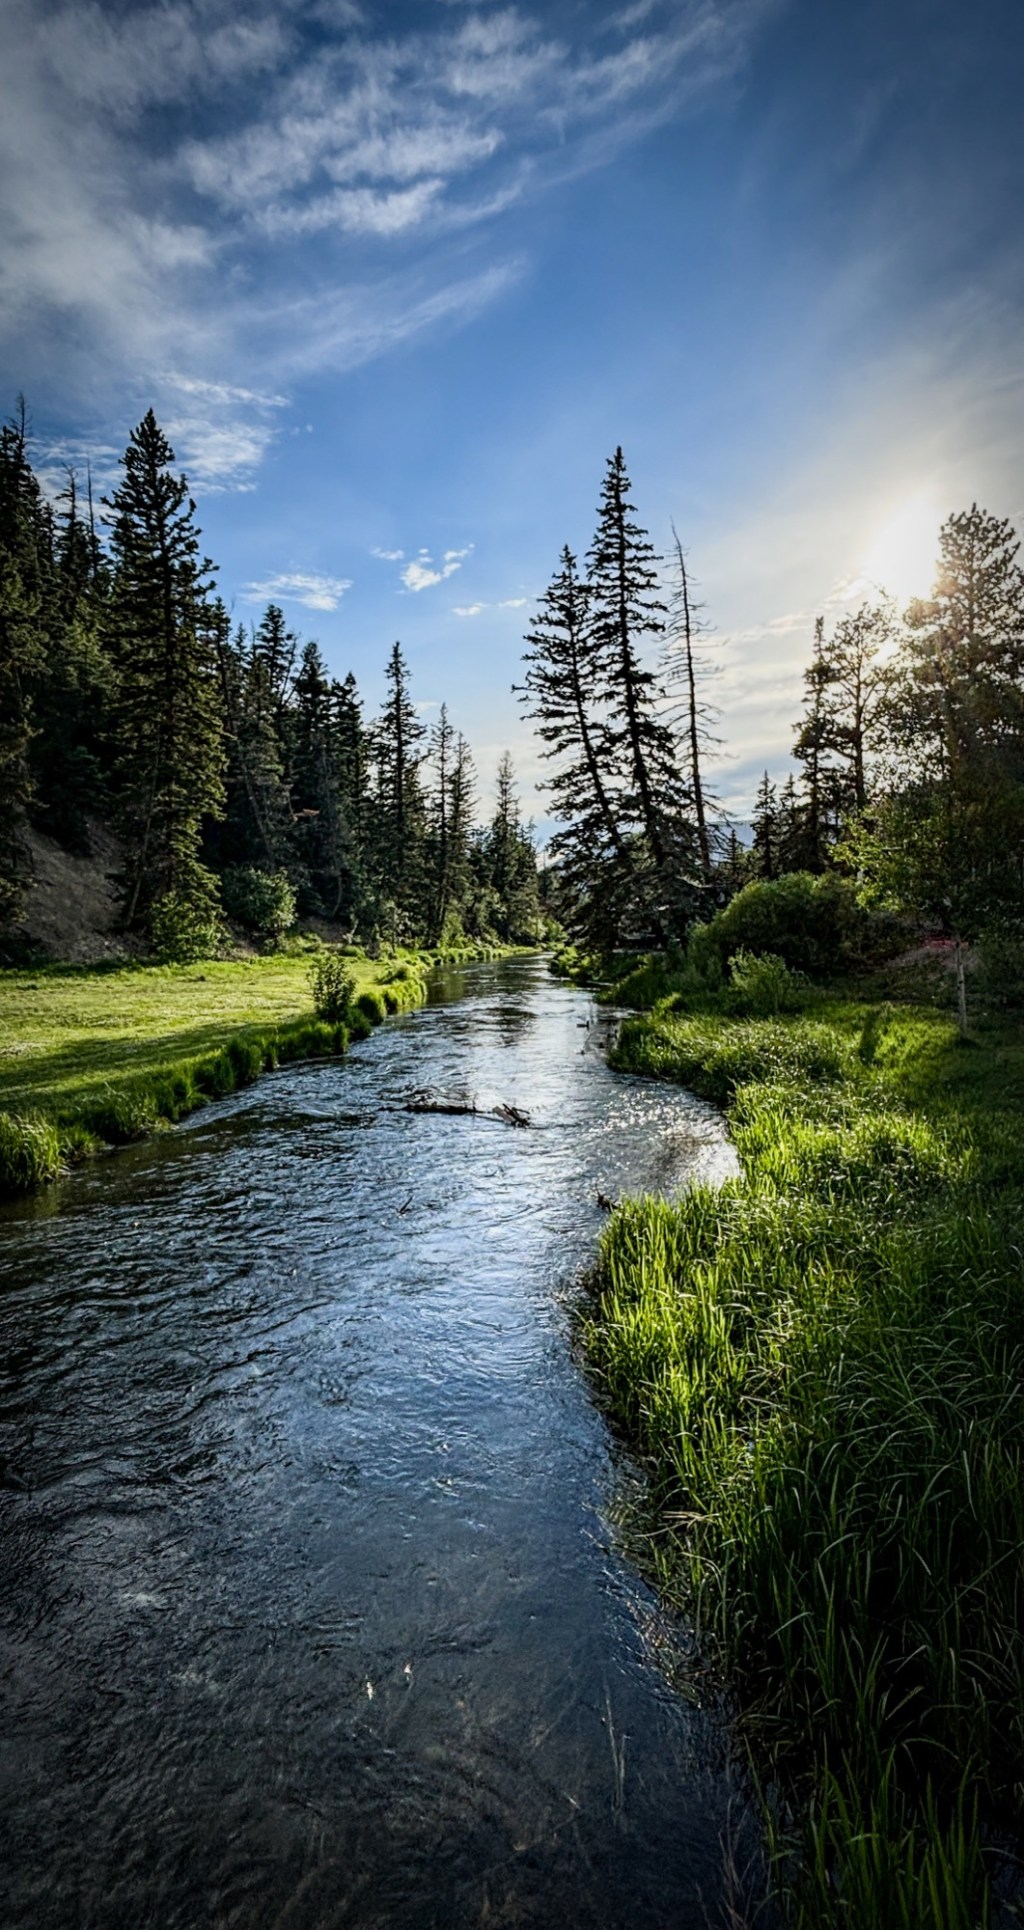
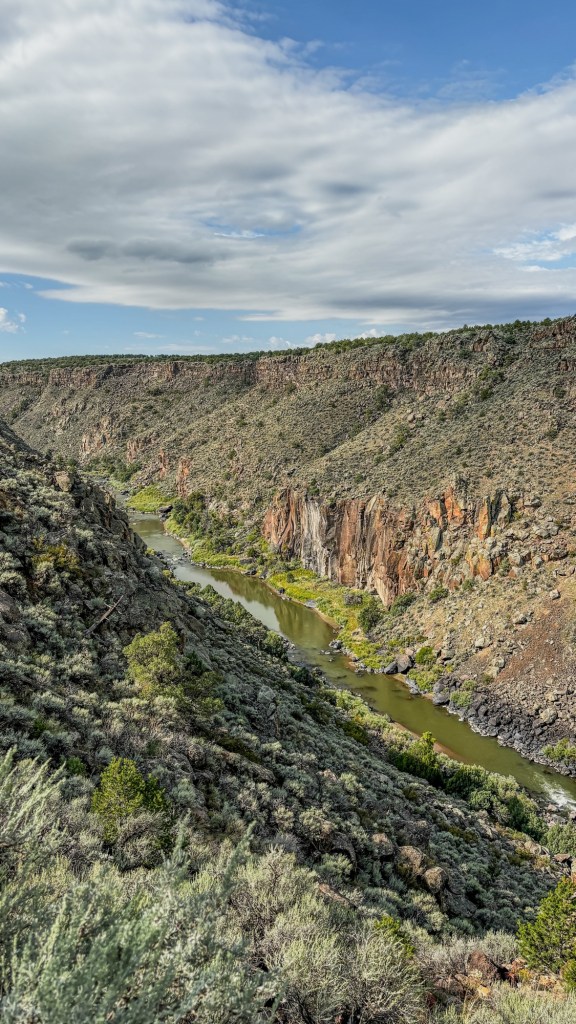
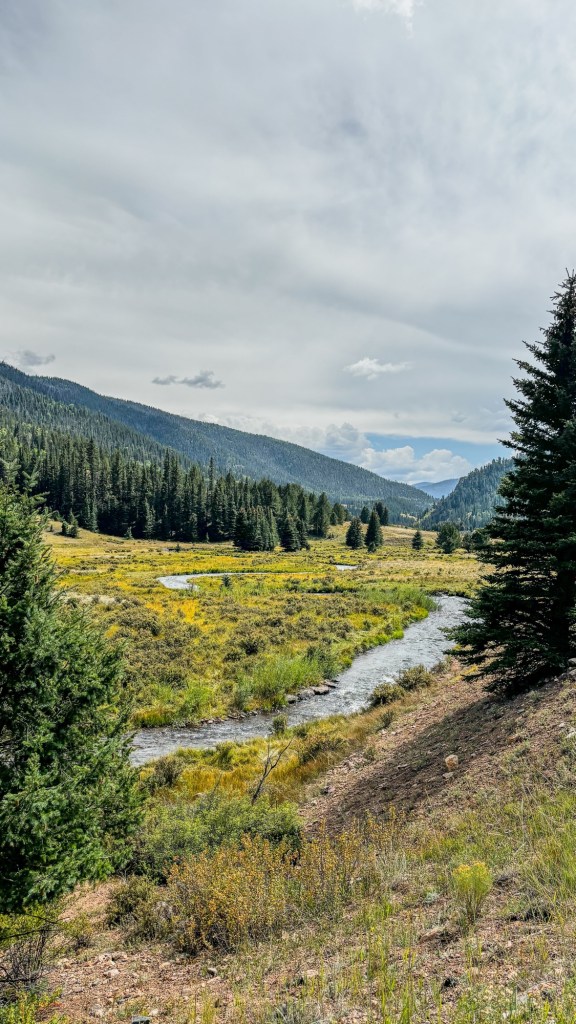
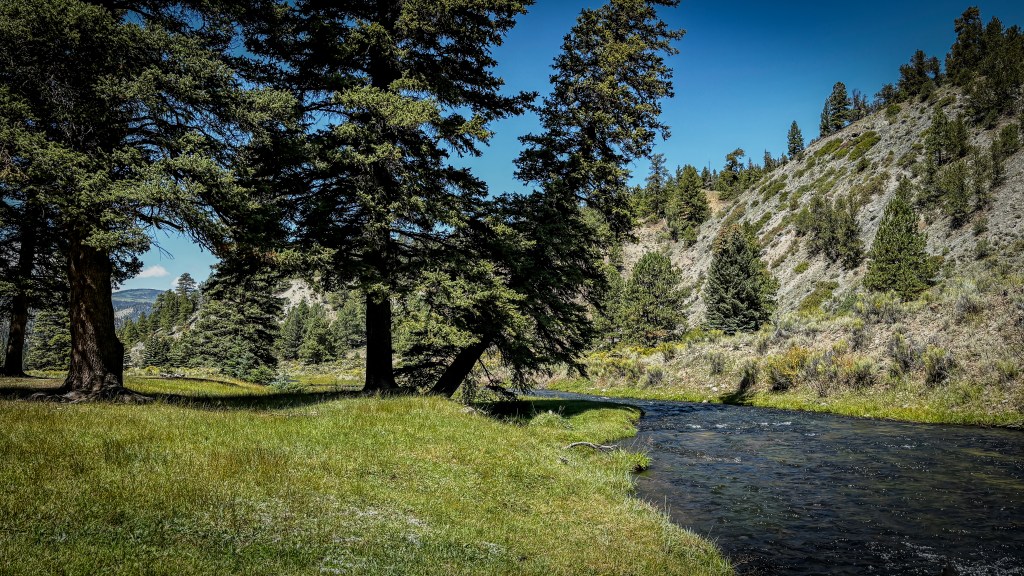
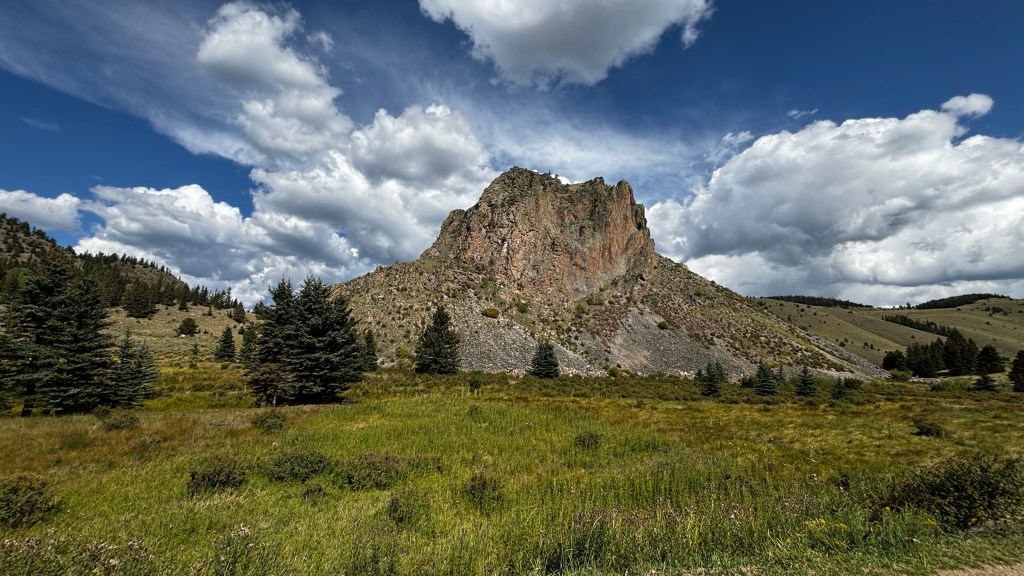
The Rio Grande cutthroat trout isn’t just New Mexico’s state fish — it’s a symbol of everything wild and resilient about the Southern Rockies. Native to the high-elevation headwaters of the Canadian, Pecos, and Rio Grande river systems across New Mexico and southern Colorado, this fish has survived in places where winters are harsh, summers can be dry, and access isn’t easy.
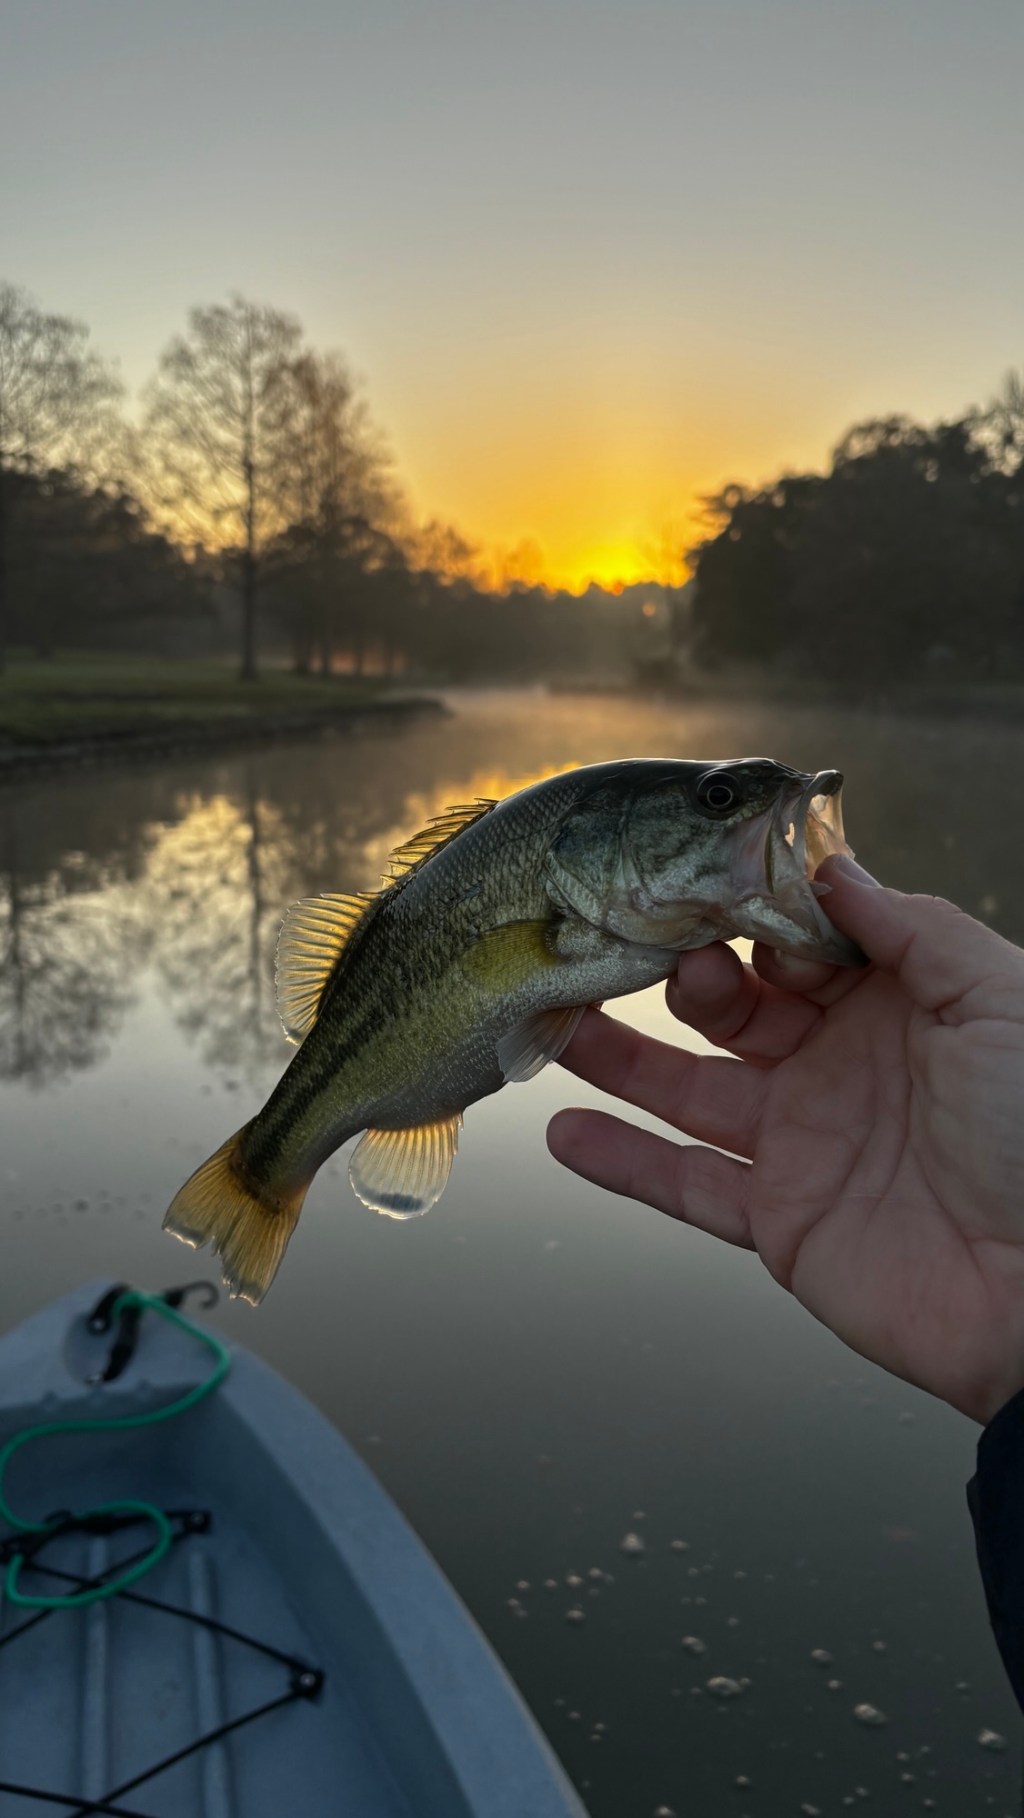
When I hike into these streams, I don’t just see a trout.
I see history. I see survival.
And I feel responsibility.
The Reality: Why They’re Still Vulnerable
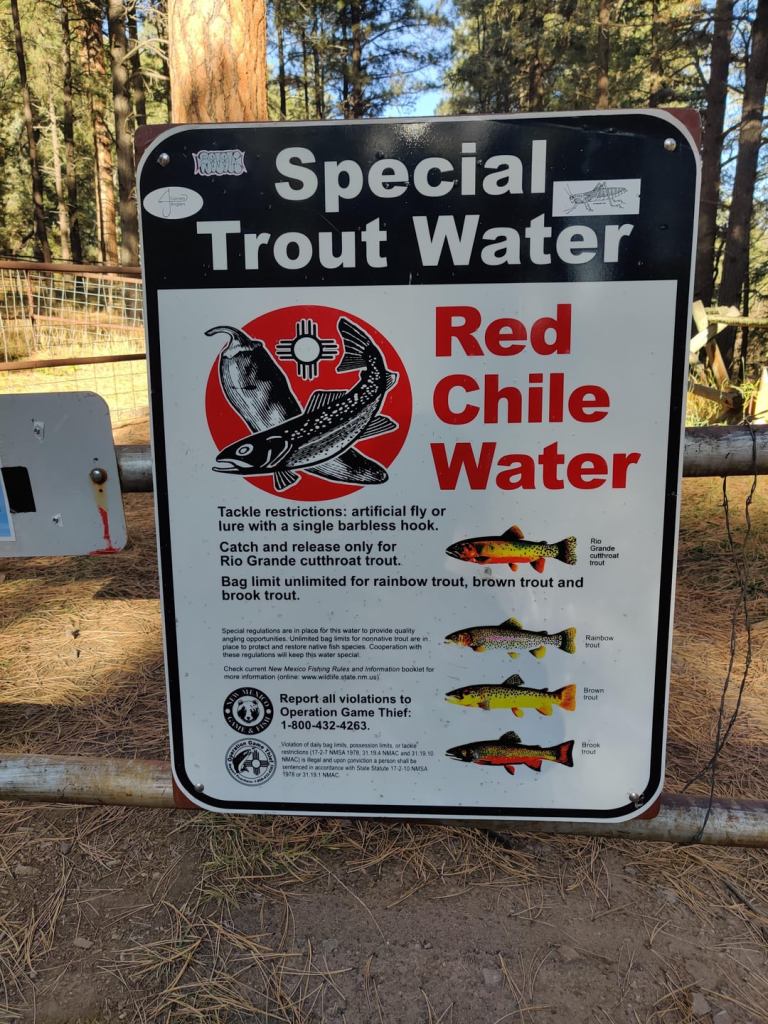
For decades, Rio Grande cutthroat trout populations declined because of:
• Competition with nonnative trout
• Hybridization with introduced rainbows
• Habitat loss and fragmentation
• Drought cycles
• Wildfires and post-fire sediment damage
Species like Rainbow trout, Brook trout, and Brown trout were stocked widely across the West. While incredible fish to chase, they altered fragile headwater ecosystems and pushed native cutthroat into smaller and smaller refuges.
That’s the factual side of conservation.
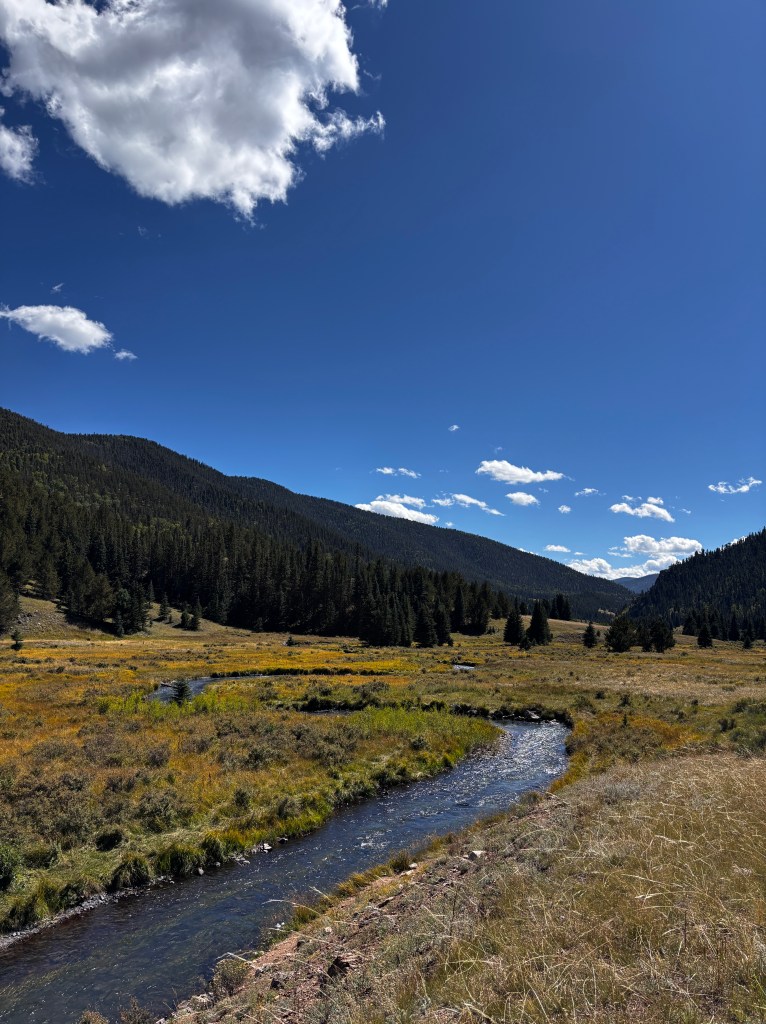
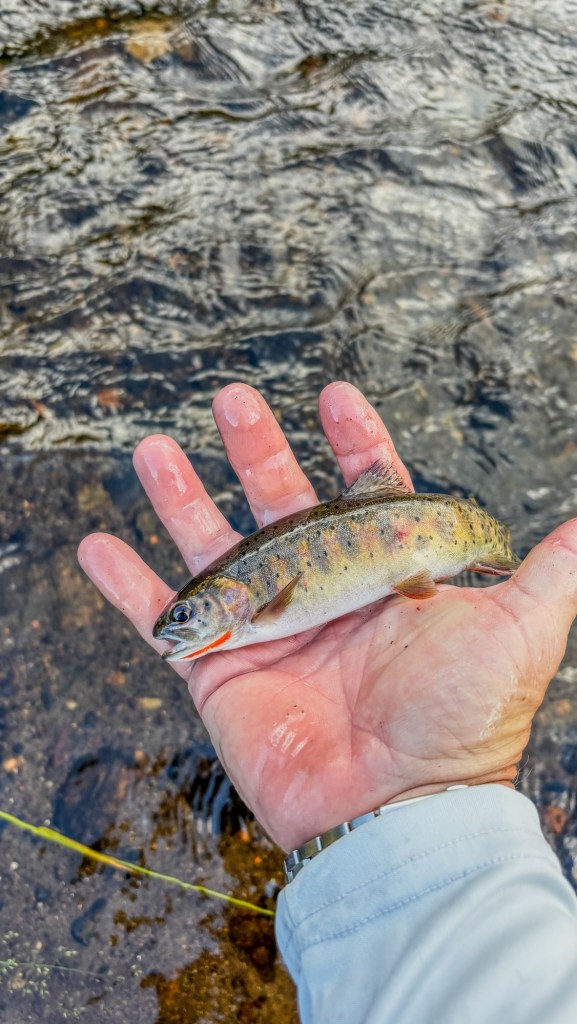
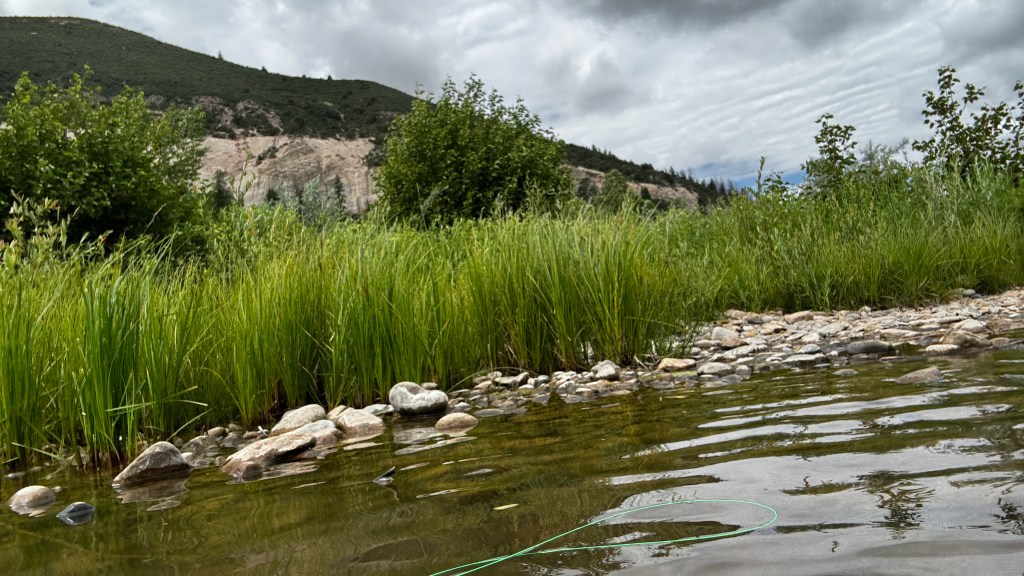
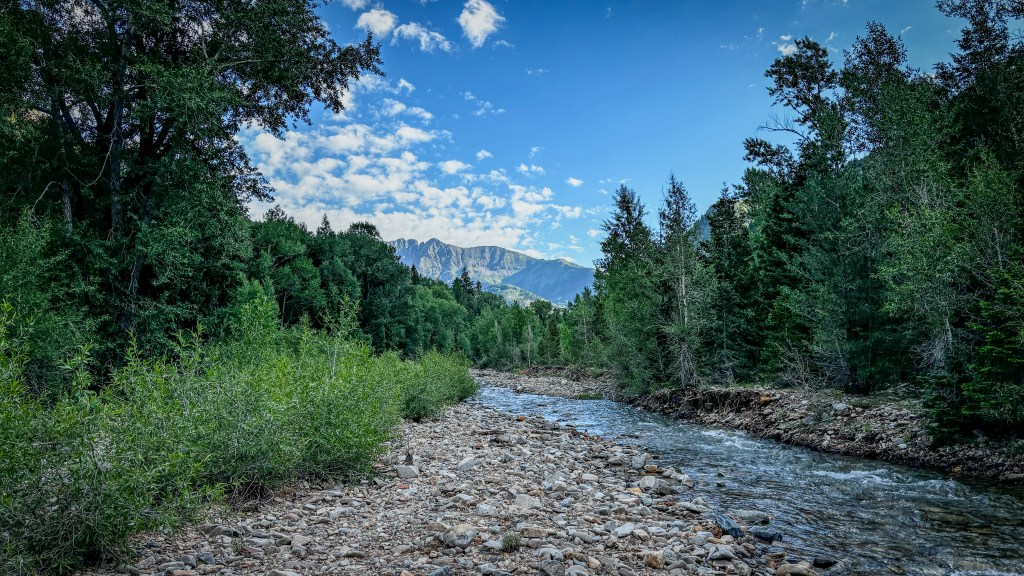
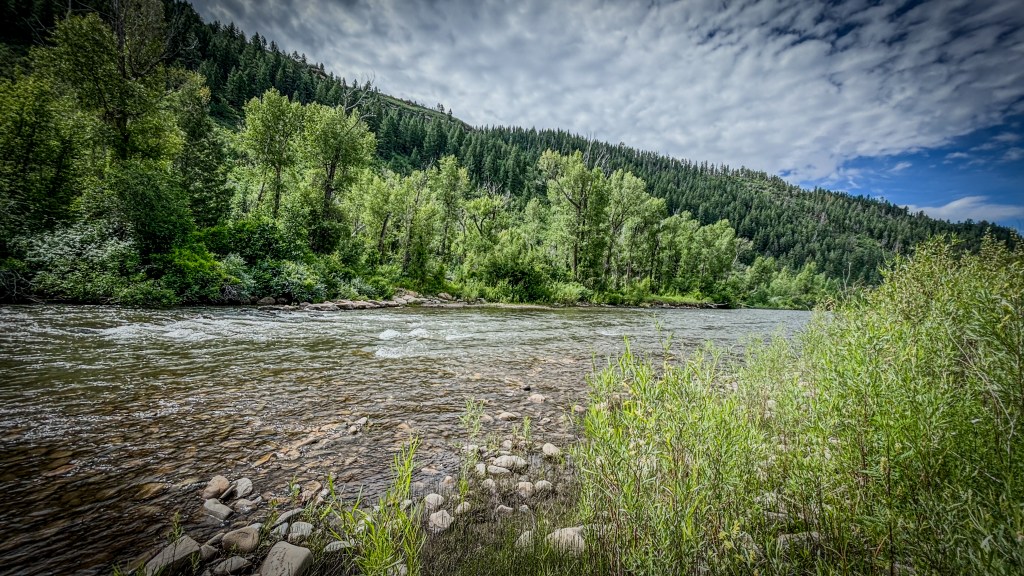
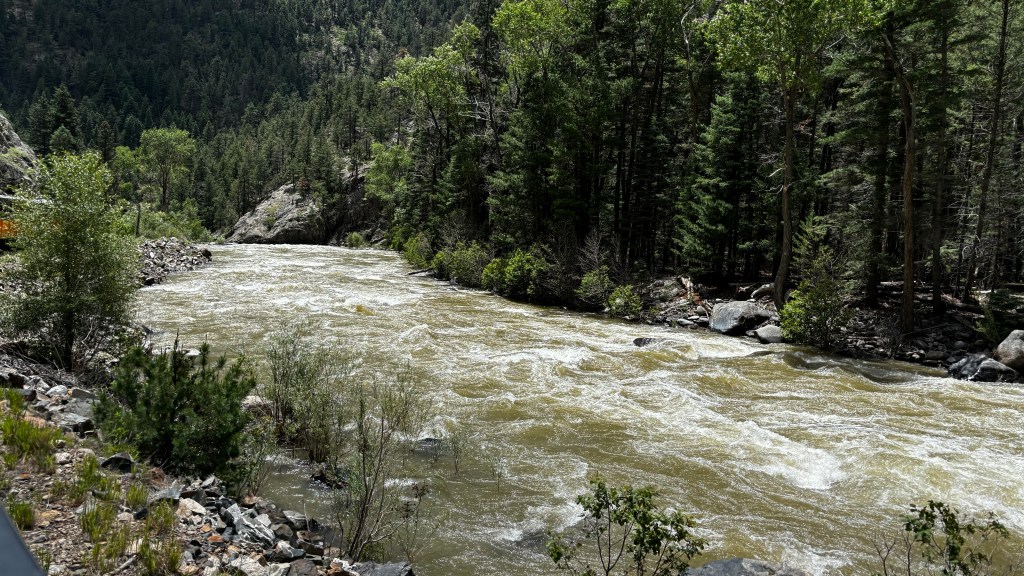
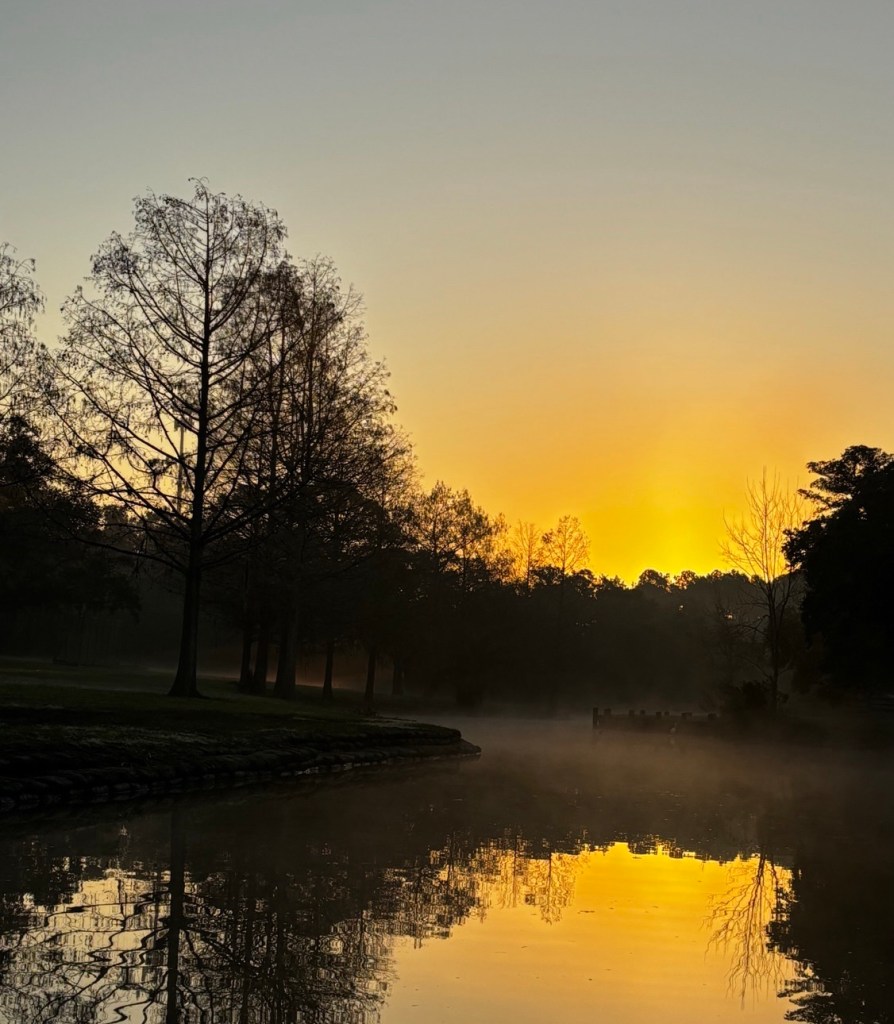
But the emotional side hits when you’re standing alone in a narrow alpine stream, watching a native cutthroat rise in water that almost disappeared from drought or fire just a few years earlier.
You realize how close we came to losing something irreplaceable.
What New Mexico Department of Game and Fish Has Accomplished
The recovery of the Rio Grande cutthroat trout didn’t happen by accident.
The New Mexico Department of Game and Fish, alongside conservation partners, has:
• Removed nonnative trout from key waters
• Installed protective fish barriers
• Reintroduced genetically pure RGCT populations
• Restored fire-damaged habitat
• Committed to long-term monitoring and management
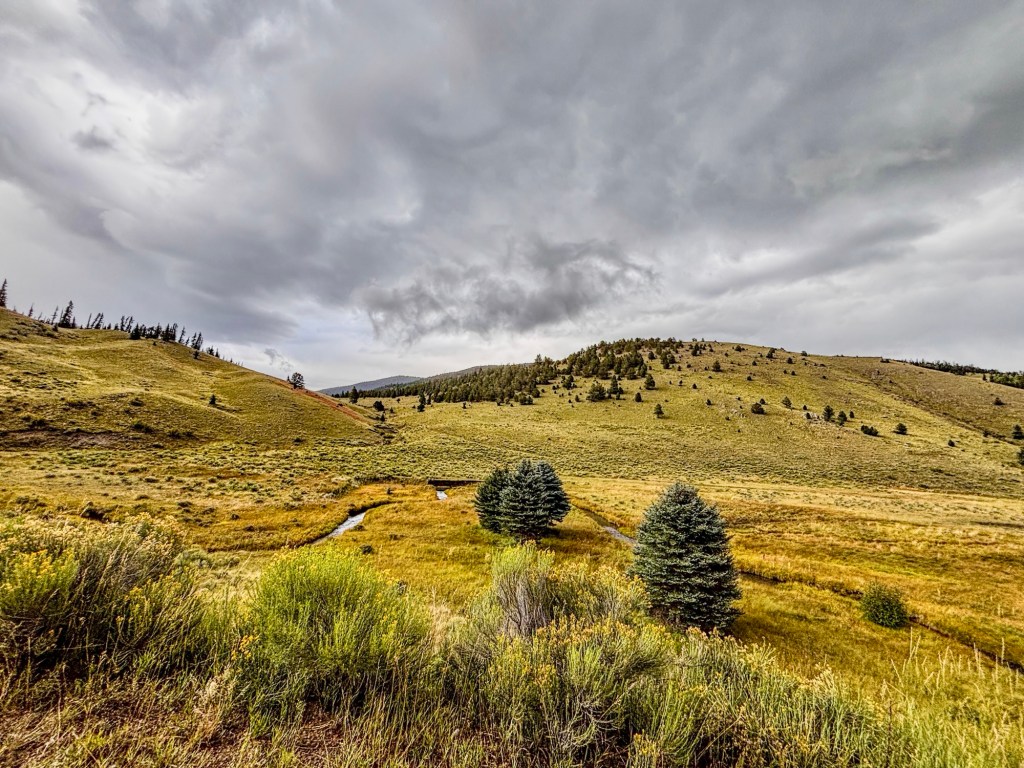
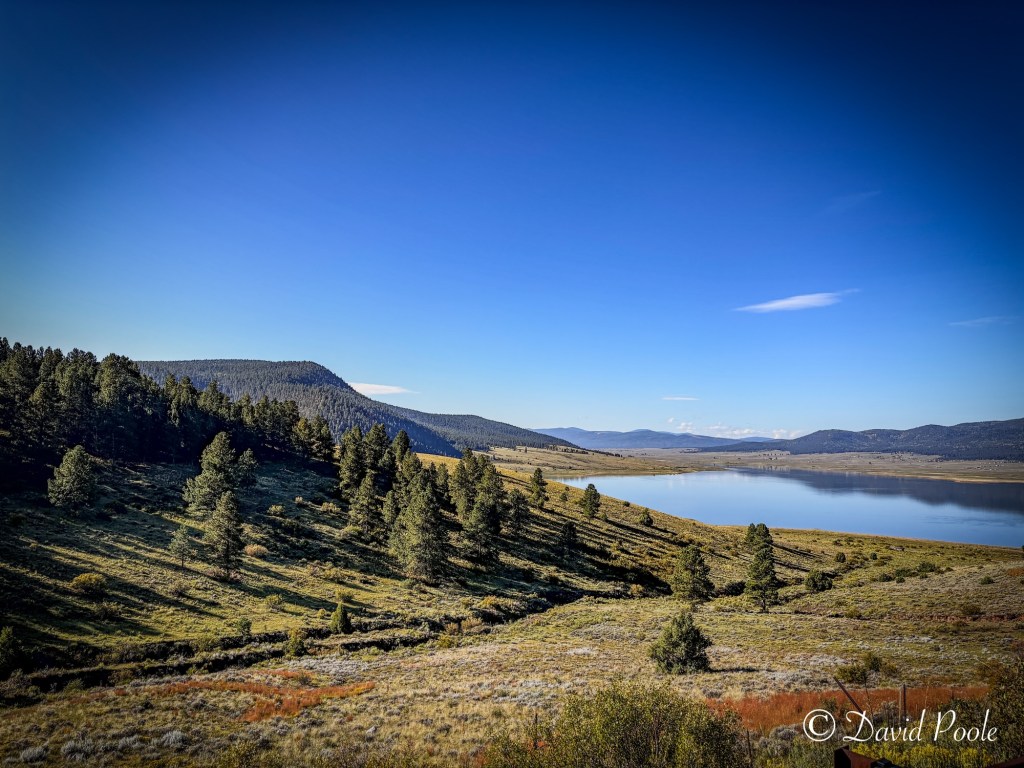
One of the most impactful efforts has been the restoration of the Rio Costilla watershed.
The Rio Costilla Restoration Project protected and restored:
• Over 120 miles of stream
• 16 lakes
• One reservoir
All dedicated to sustaining Rio Grande cutthroat trout habitat.
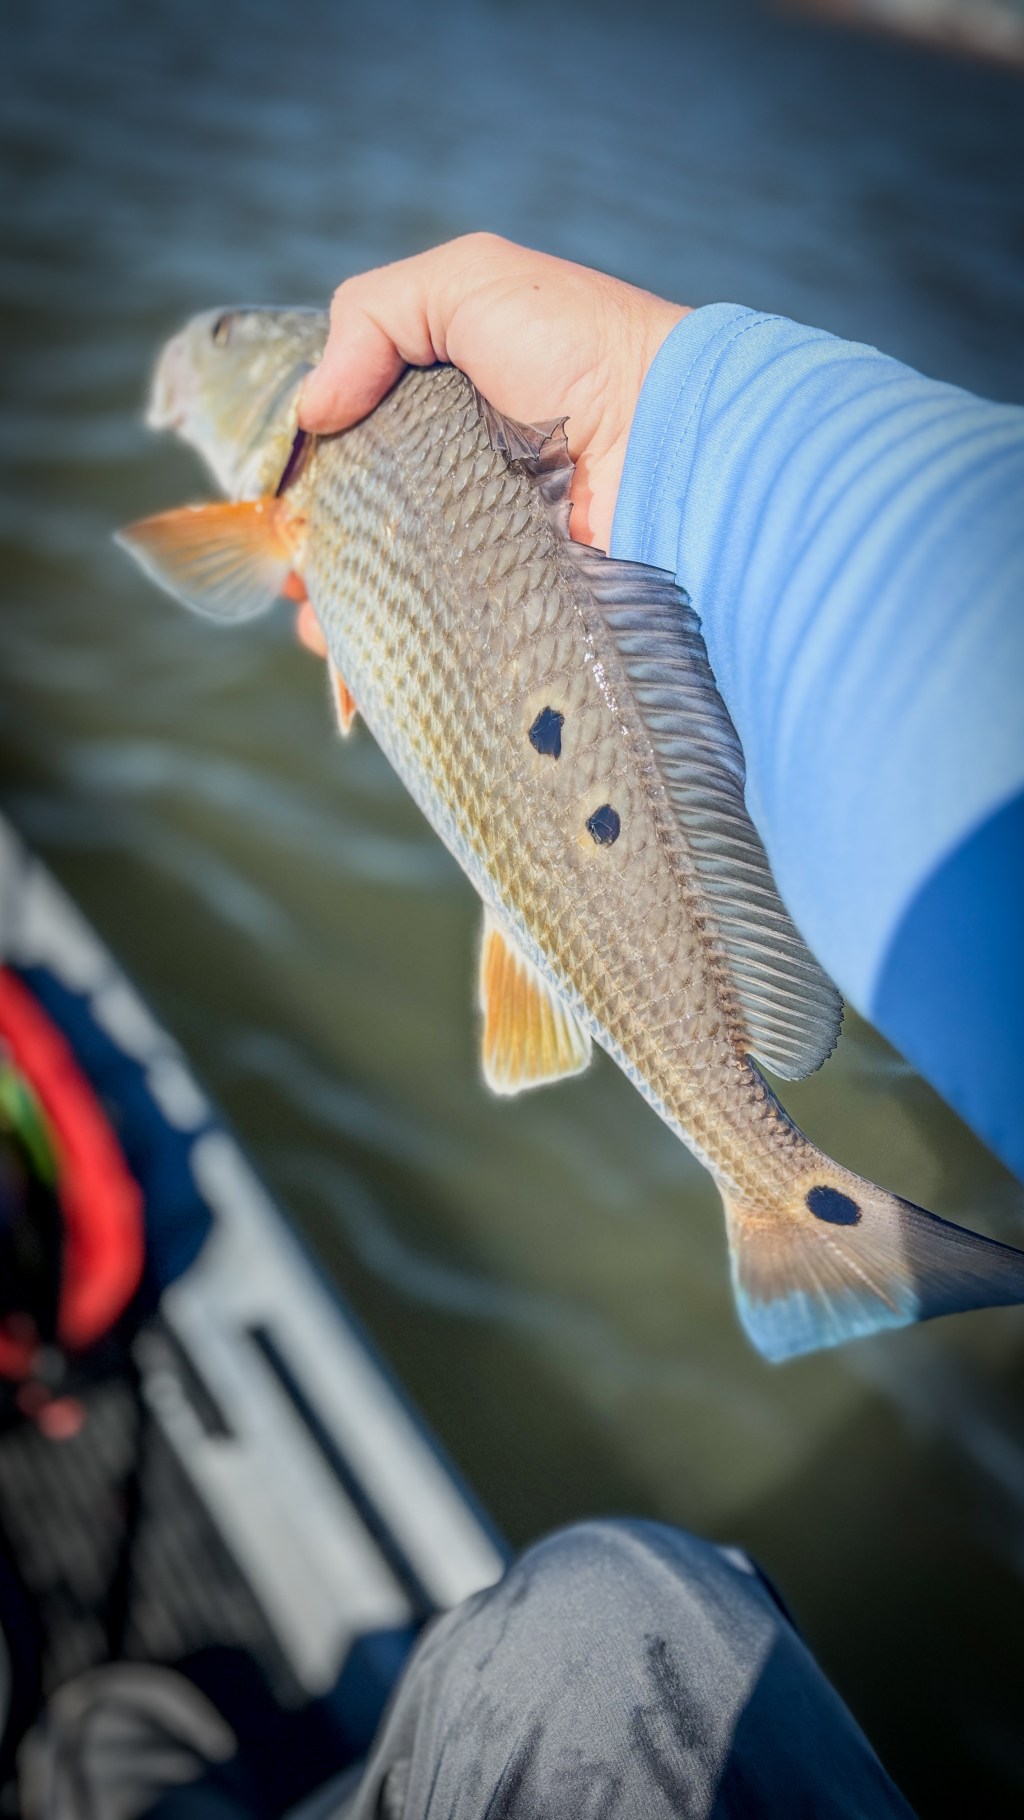
The project also restored native populations of the Rio Grande chub and the Rio Grande sucker species that were also at risk and were ultimately kept off the Endangered Species list.
That’s not just management.
That’s long-term vision.
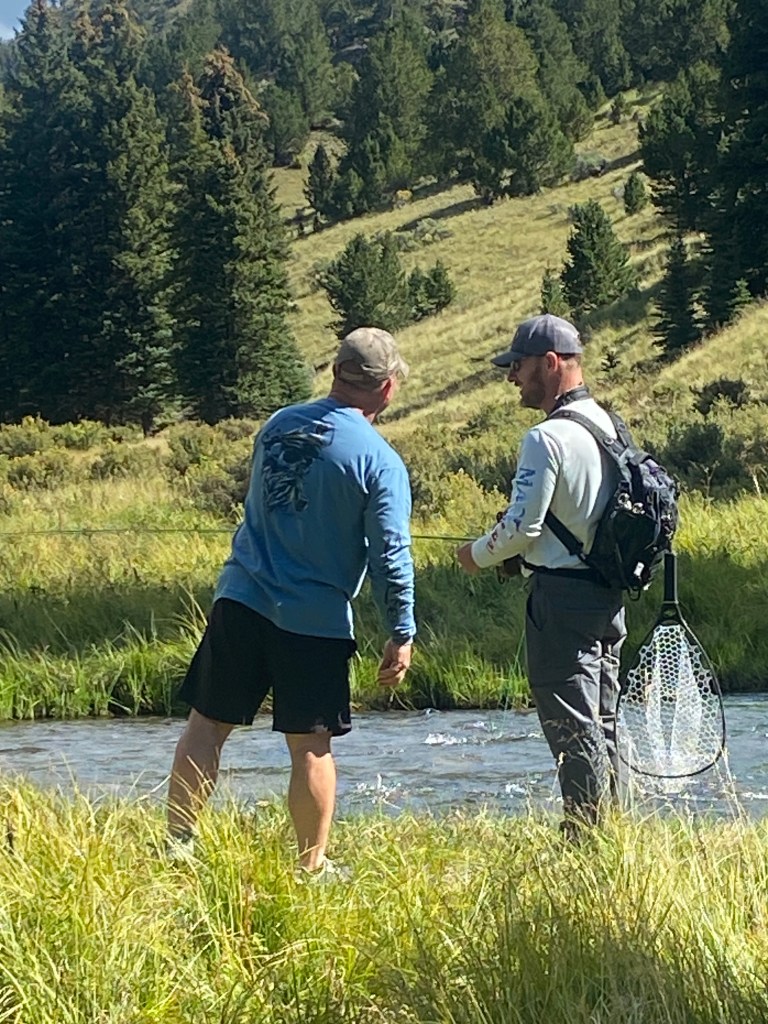
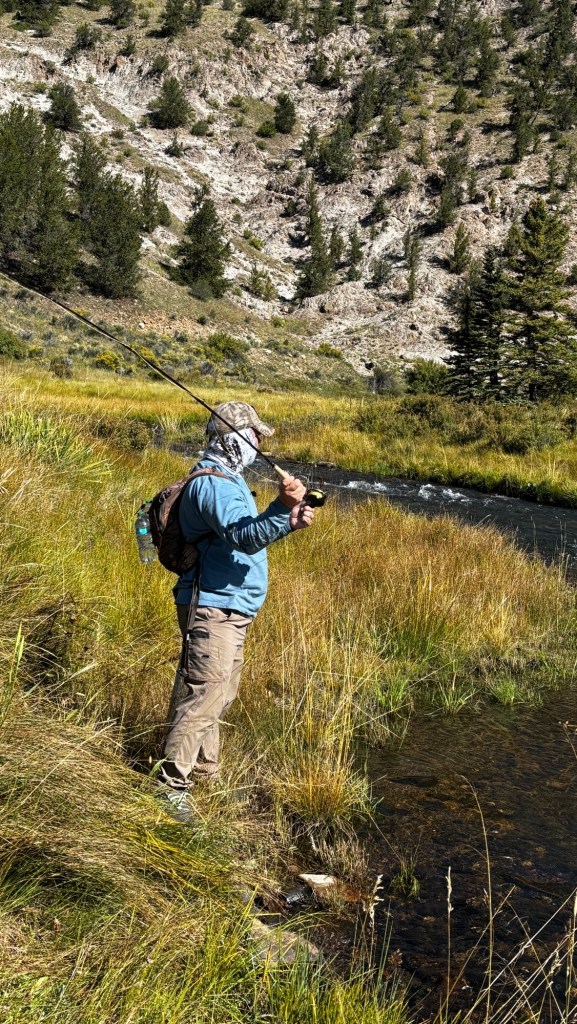
Fishing These Waters Changed Me
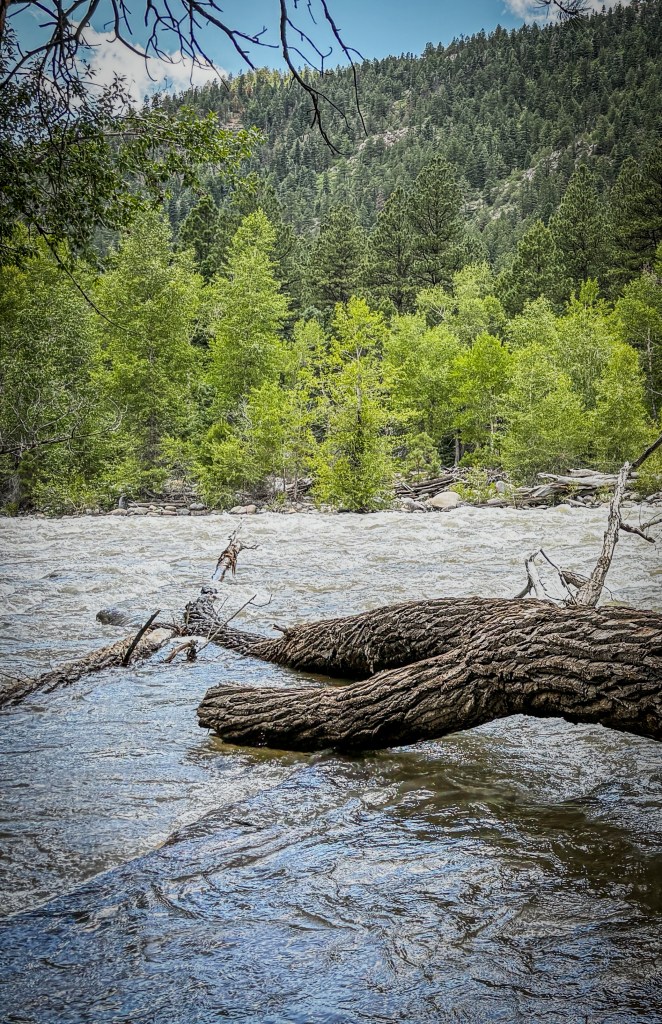
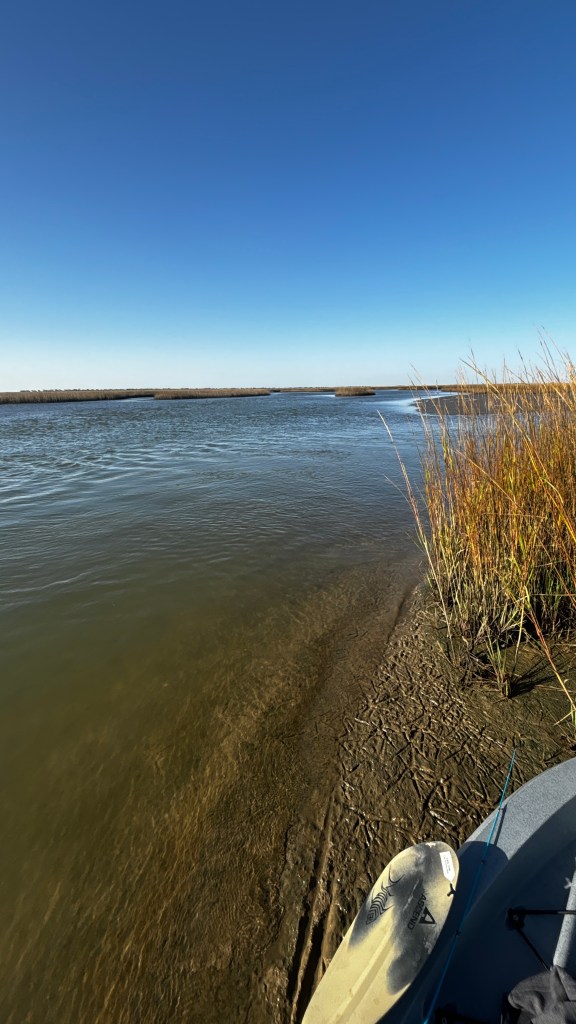
Every time I return to these mountain streams, it feels different than fishing anywhere else.
There’s less noise.
Less pressure.
More intention.
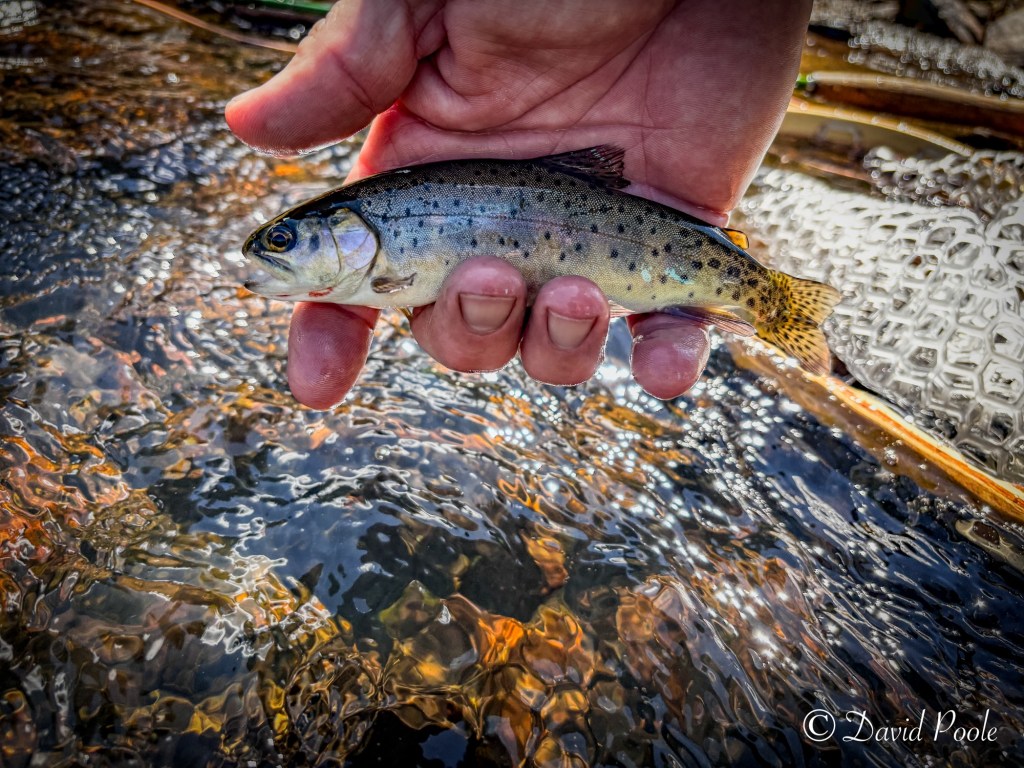
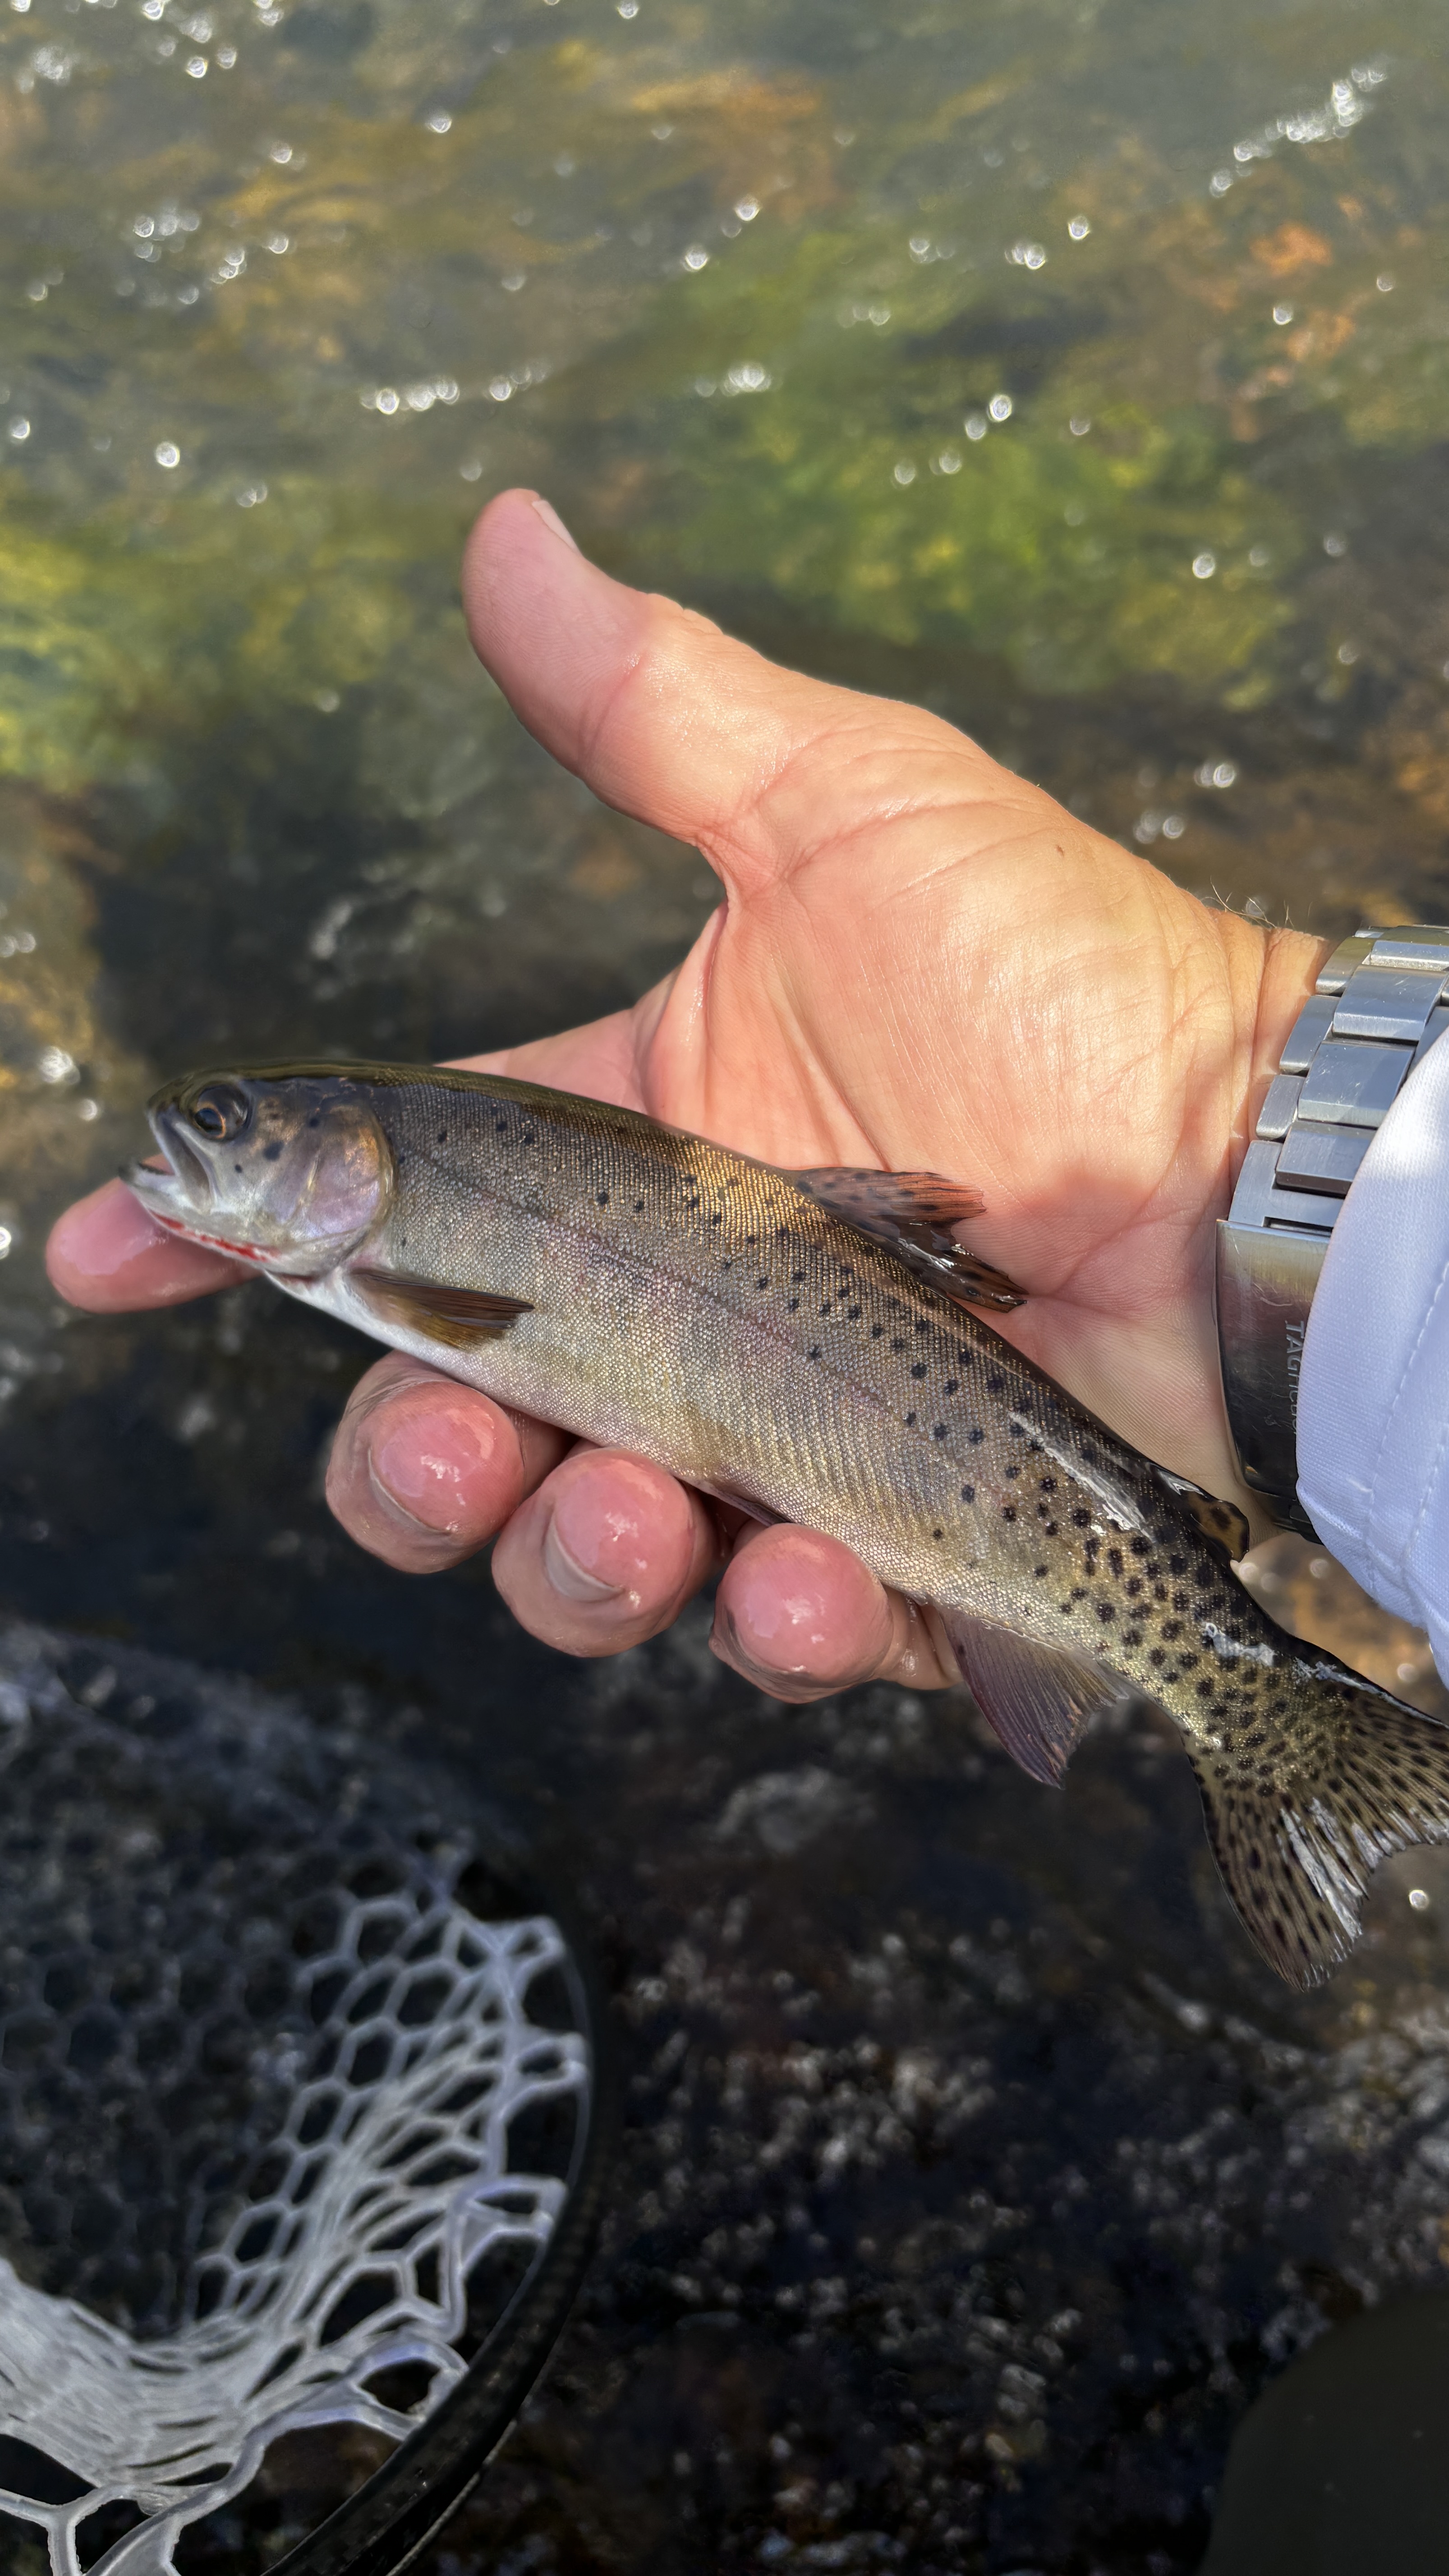
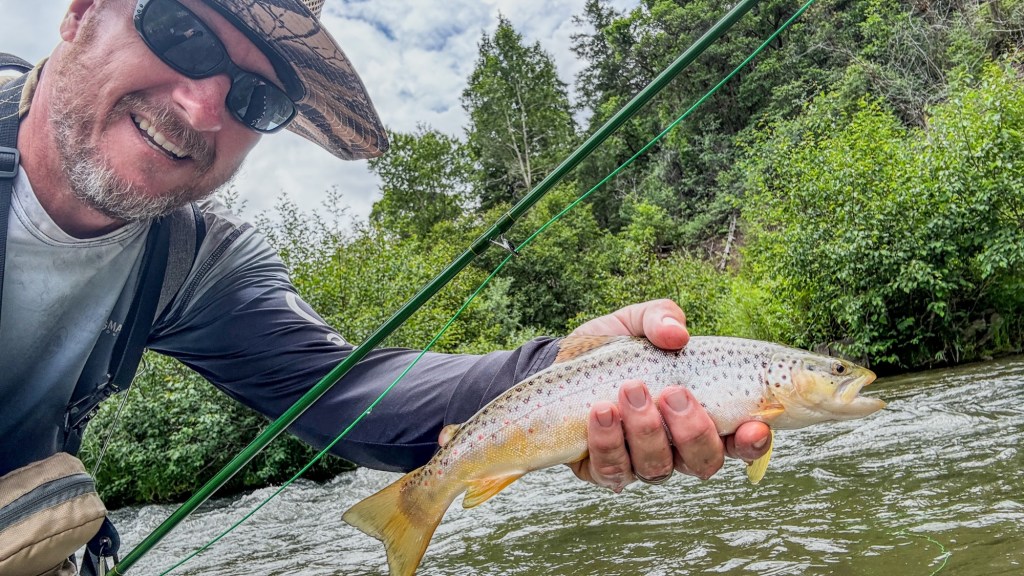
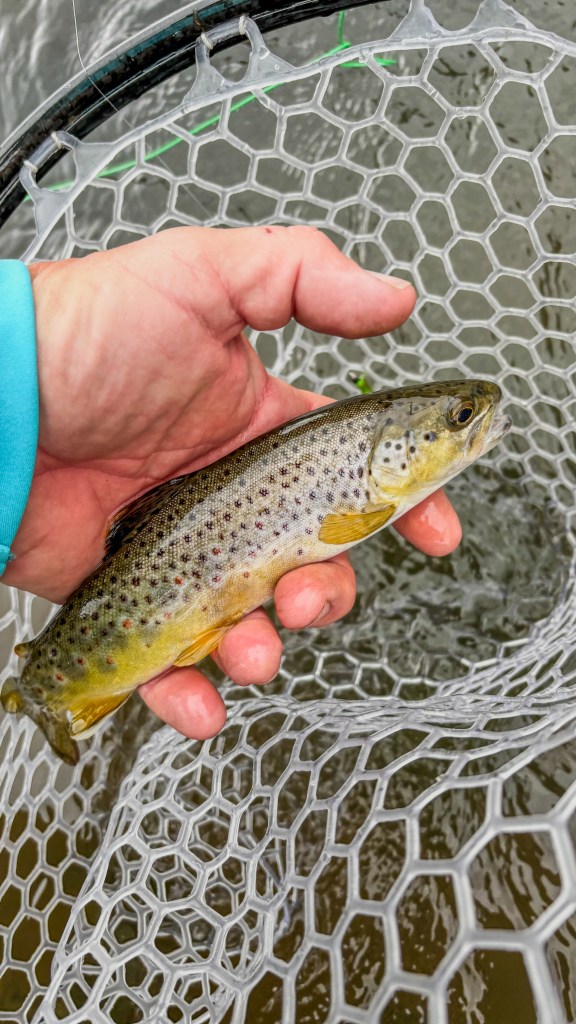
I practice strict catch-and-release. I pinch my barbs. I keep fish wet. I revive them facing into the current until they kick away strong.
And I’ve changed something else over time — something I think more anglers should consider.
You don’t have to take a picture of every fish you catch.
As someone who loves photography, that wasn’t easy to admit at first. I bring my camera into the backcountry. I care about documenting landscapes, light, and the story of a place.
But I’ve learned this:
Sometimes the most responsible photo is the one you don’t take.
Every second a trout is out of the water increases stress. Especially in high-elevation streams where water temperatures can fluctuate, minimizing air exposure matters. If I do take a photo, I make it quick — fish wet, camera ready, no fumbling, no extended poses.
But many days?
I let them go without lifting them from the current.
The memory is enough.
Conservation Is Behavior, Not Just Policy
It’s easy to praise conservation agencies — and they deserve it. But conservation ultimately lives in our daily habits on the water.
It looks like:
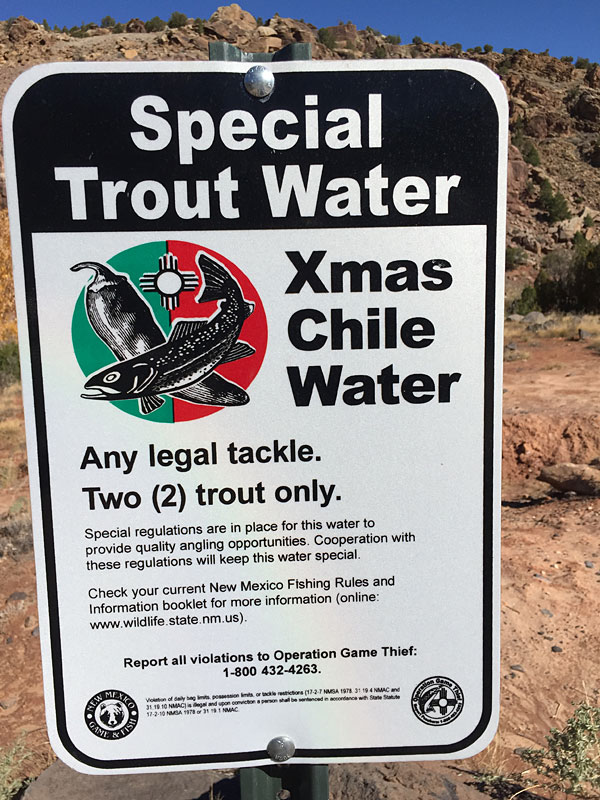
• Respecting seasonal closures
• Following bag limits
• Supporting native restoration efforts
• Educating others
• Leaving no trace
• Choosing restraint over ego
It also means understanding that a fish’s value isn’t measured in social media validation.
The river doesn’t care about our highlight reels.
What matters is that the fish swims away healthy.
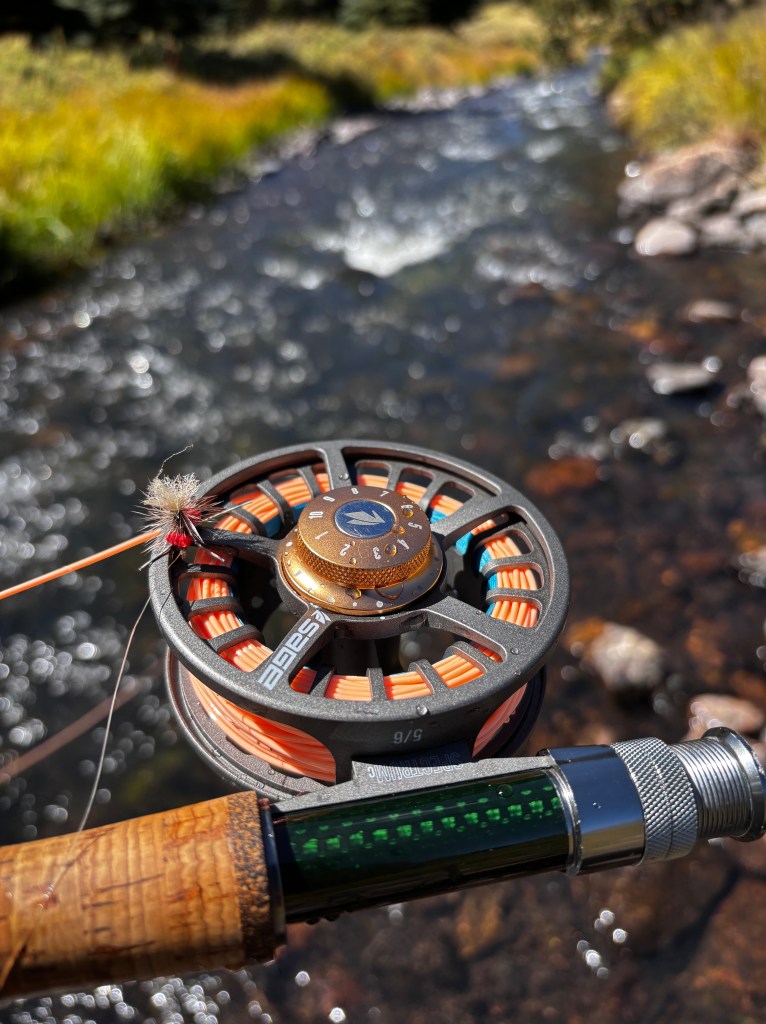
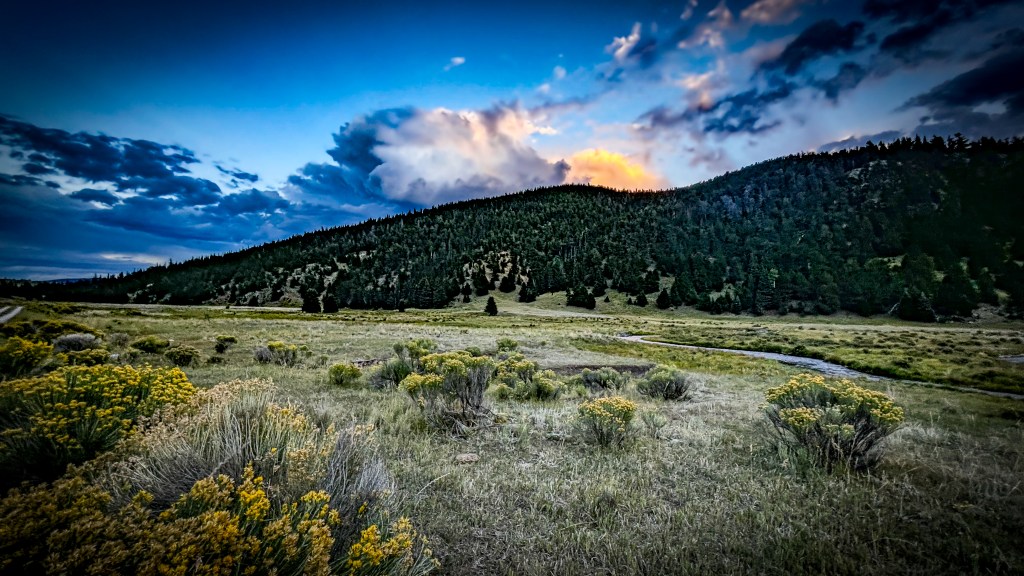
Photography, Fly Fishing, and Respect
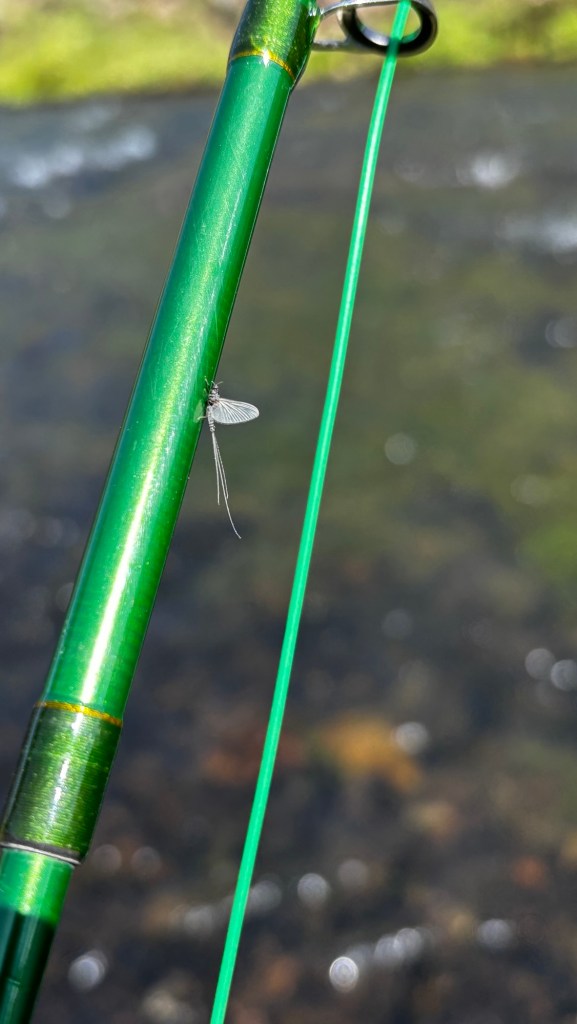
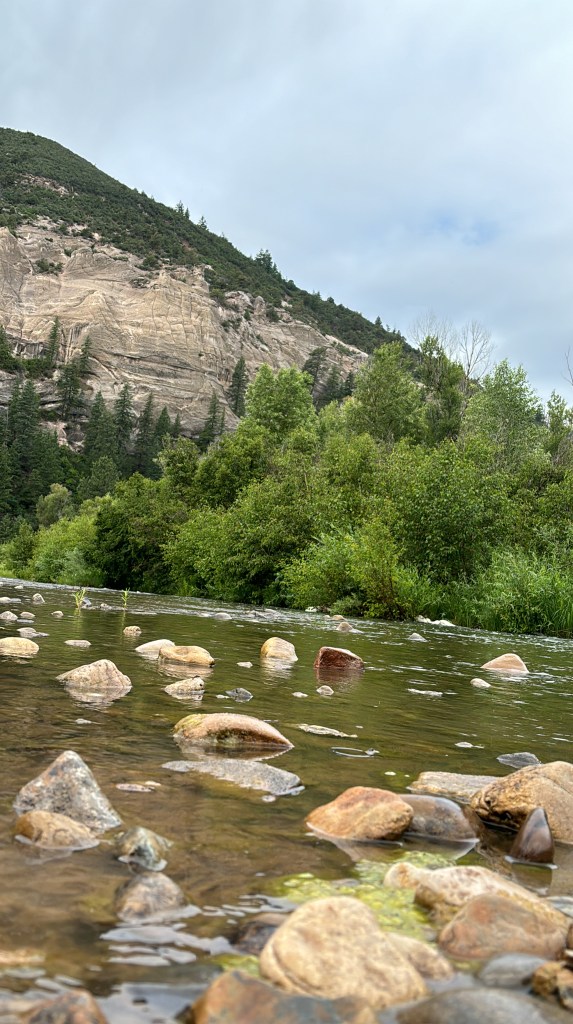
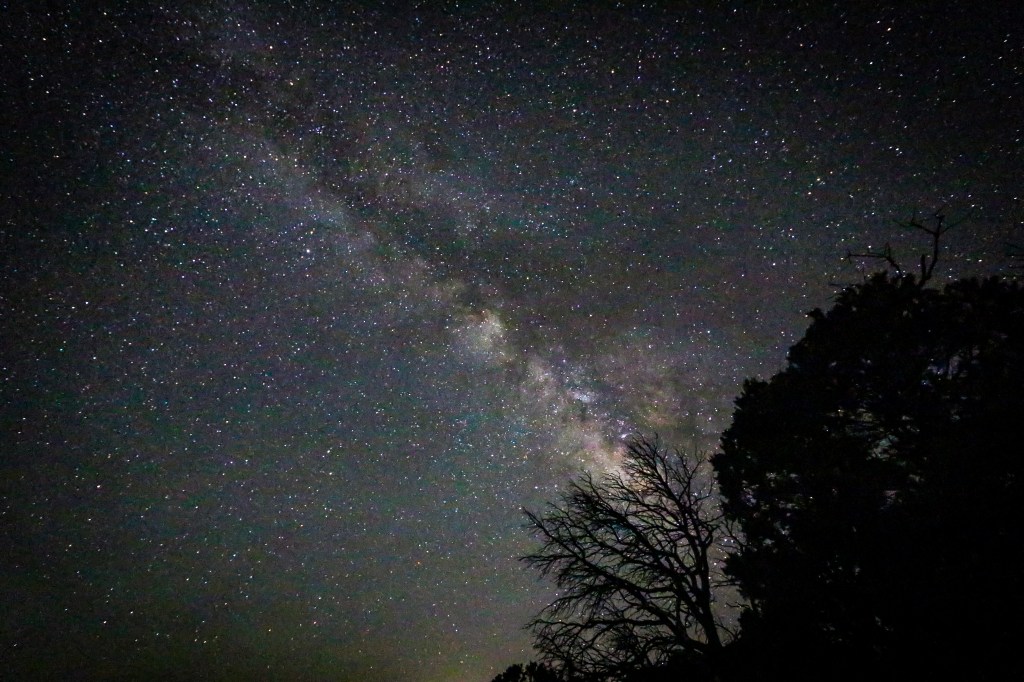
Photography has deepened my connection to these places. Capturing morning light spilling over a canyon. Documenting the texture of current folding over granite. Framing a native cutthroat in its natural environment — not just as a trophy, but as part of a living ecosystem.
My love of fly fishing and photography isn’t about possession.
It’s about preservation.
The more I experience these waters, the more I believe conservation is deeply personal. When you’ve watched a Rio Grande cutthroat rise in a stream that was once nearly lost — you don’t want to be the reason that story ends.
Why This Matters
Protecting Rio Grande cutthroat trout protects:
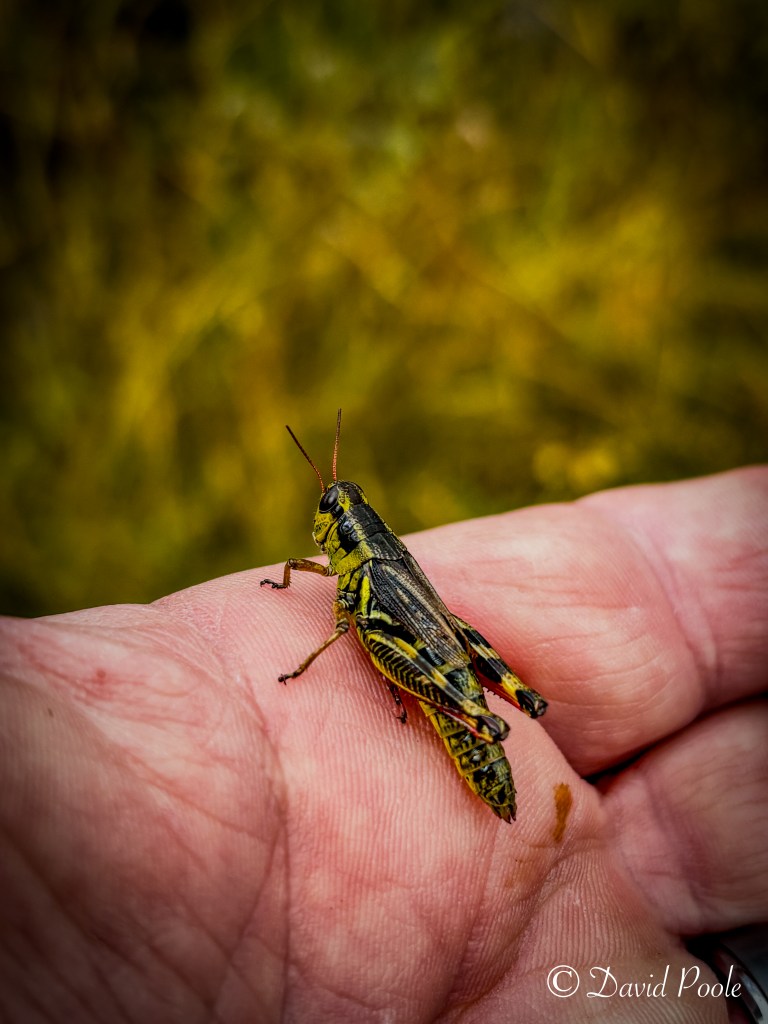
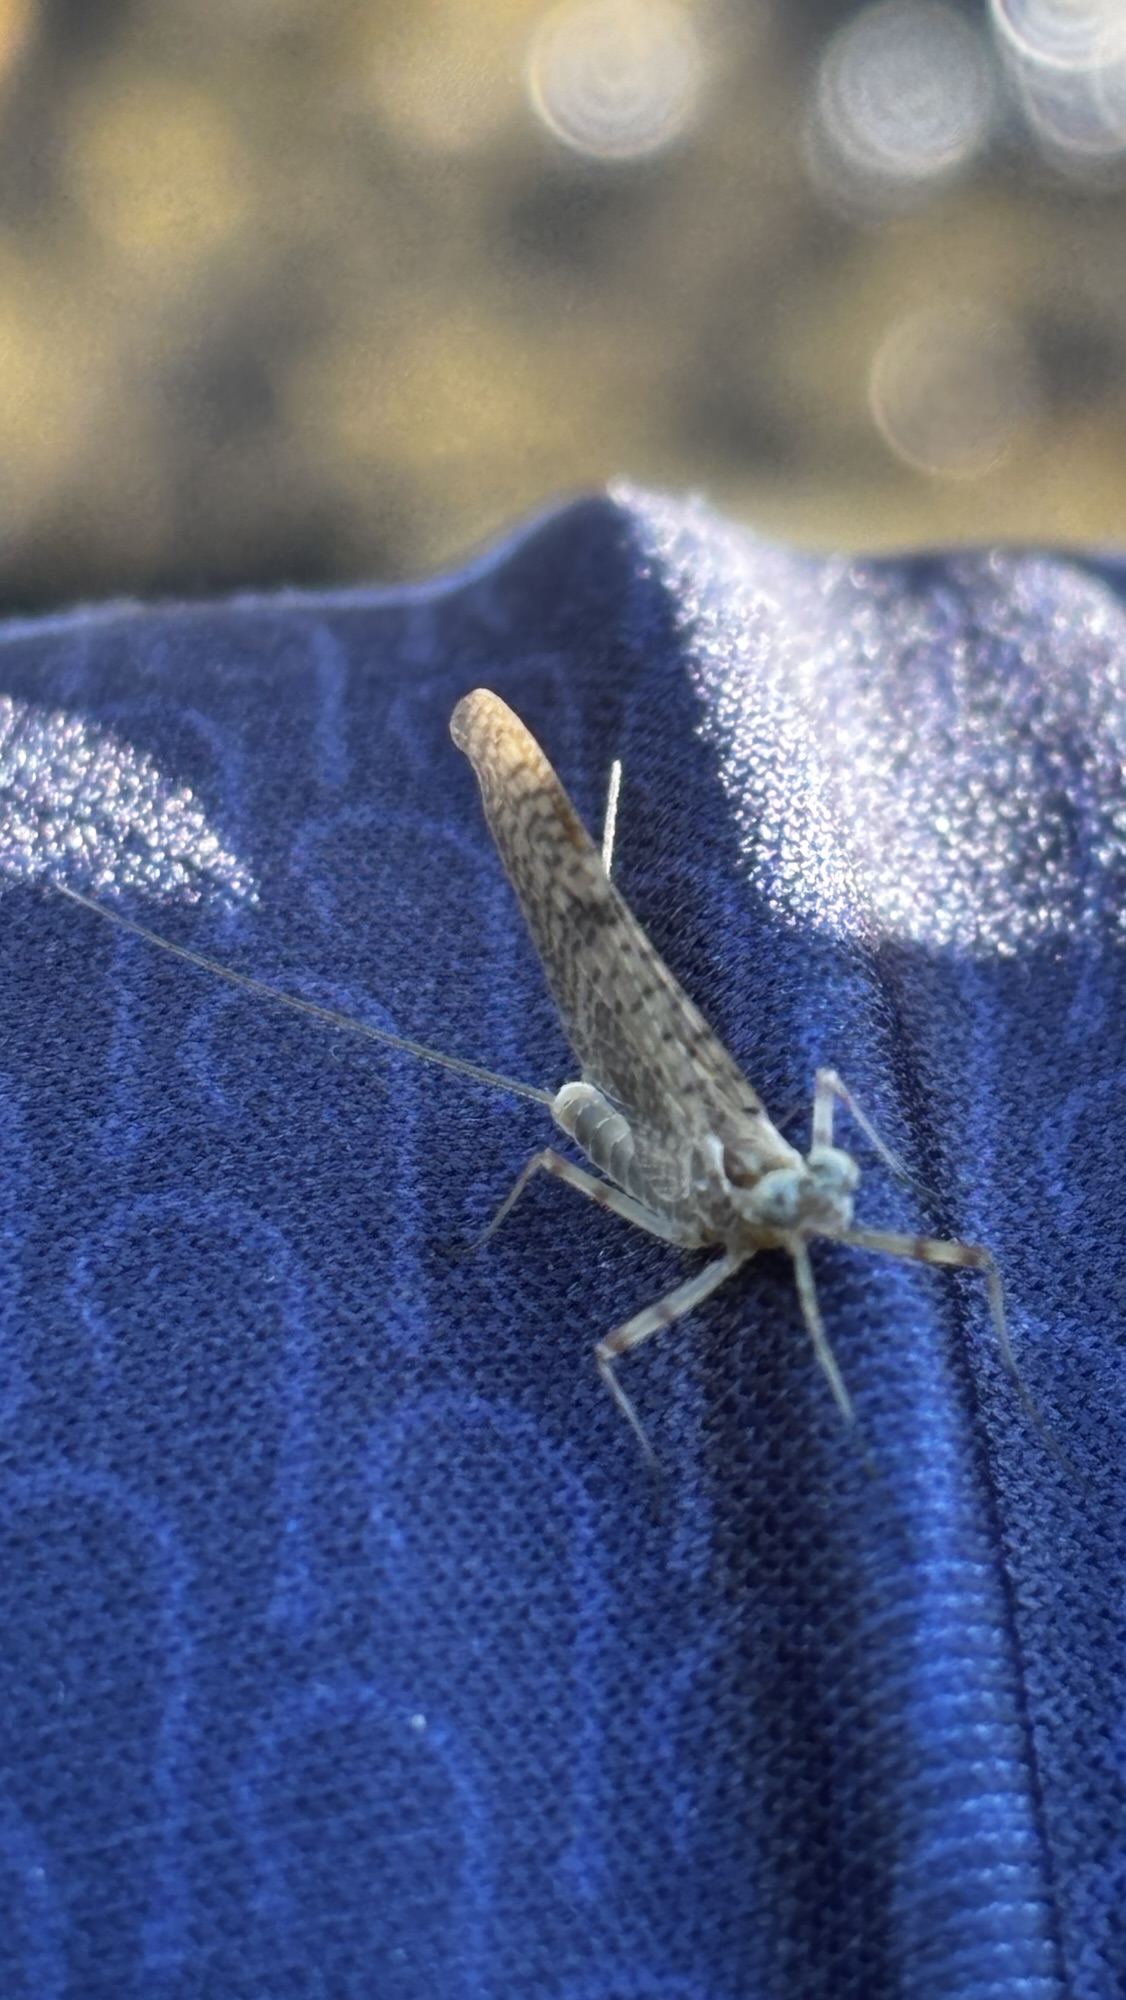
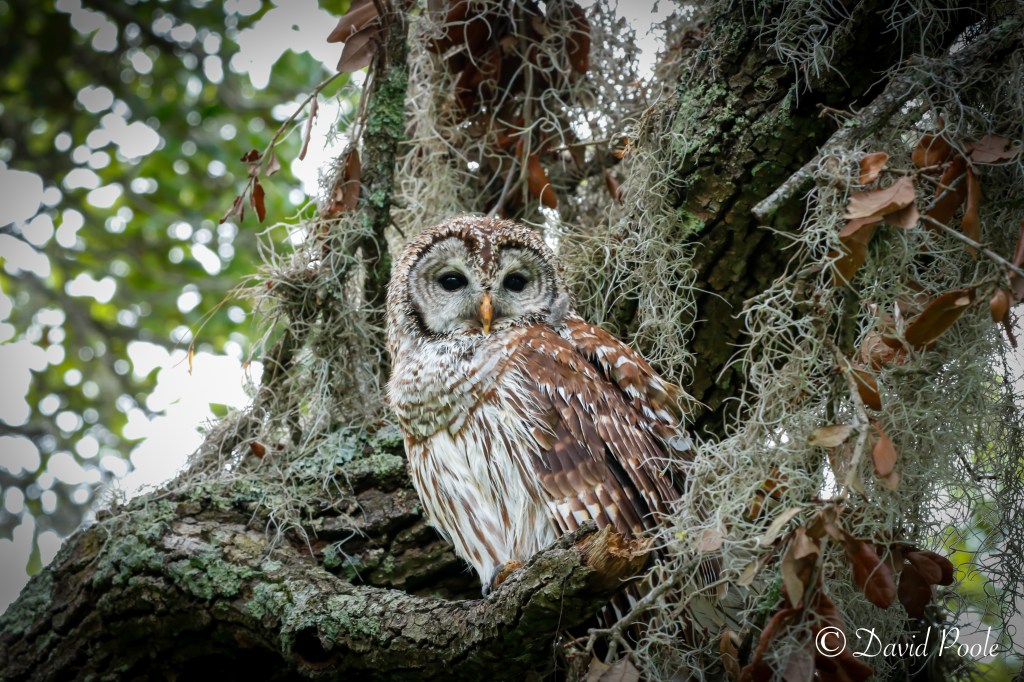
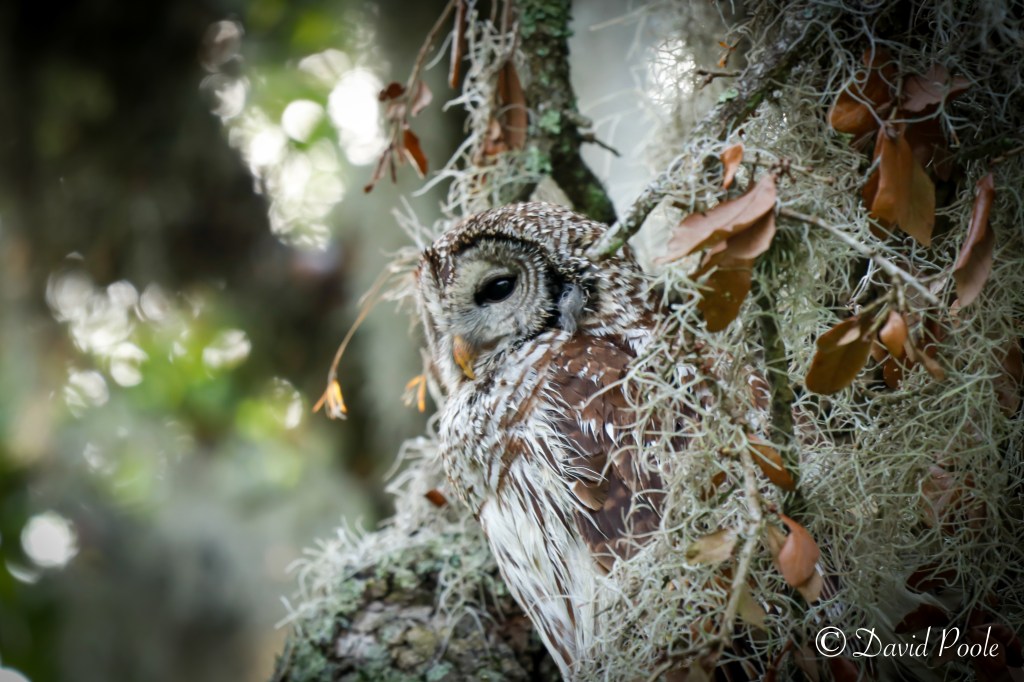
• Entire headwater ecosystems
• Aquatic insect populations
• Native fish diversity
• Downstream water systems
• Future generations of anglers
These fish survived fire, drought, competition, and decades of decline.
They’re still here because people made hard decisions. Because agencies committed to restoration. Because anglers adapted their behavior.
And when I stand in those cold mountain streams, feeling the current push against my legs, I’m reminded:
We don’t own these fish.
We borrow the experience.
If we do it right — if we fish responsibly, support restoration, and sometimes choose not to lift the fish for a photo — they’ll still be here long after we’re gone.
And that, to me, is the true measure of conservation.


Let me know your thoughts in the comments below!